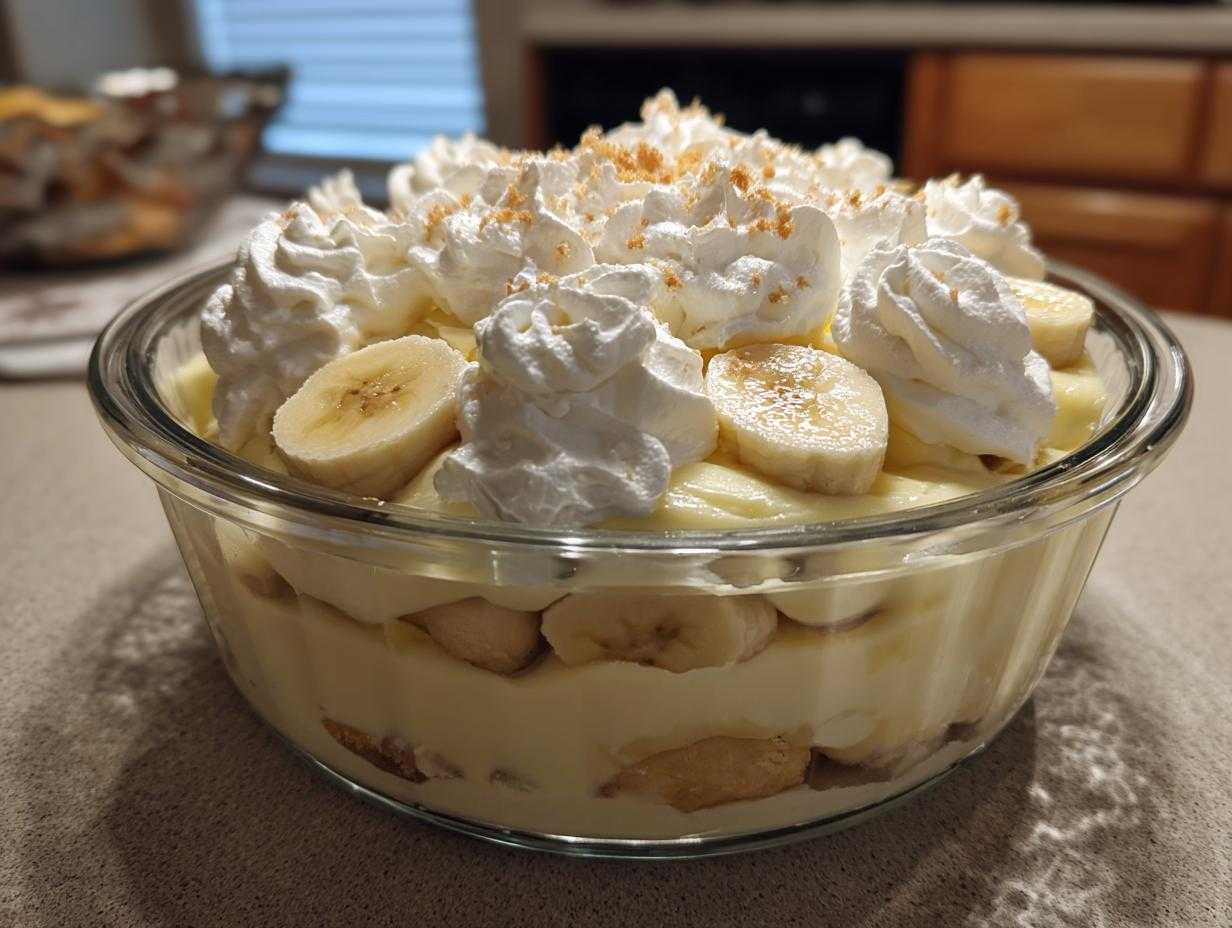
Oh my goodness, if there is one dessert that instantly transports me back to my grandmother’s porch on a hot summer evening, it has to be a perfectly layered, unbelievably creamy Southern banana pudding. Forget those quick kits you sometimes see; we are going totally traditional here! This isn’t just a dessert; it’s pure, old-fashioned comfort food made with homemade vanilla pudding layers that practically melt in your mouth. Honestly, after testing what felt like a million batches, I finally locked down the absolute *best* way to make this iconic < banana pudding, and I can’t wait to share my secrets!
Why This Classic Banana Pudding Recipe Stands Above Others
So many recipes promise the world, but they end up soggy or soupy, right? Not mine! This classic < banana pudding is different because every texture sings. We are talking rich, decadent homemade goodness, not that instant stuff. Trust me, spending the extra 10 minutes on the pudding base is worth every single second.
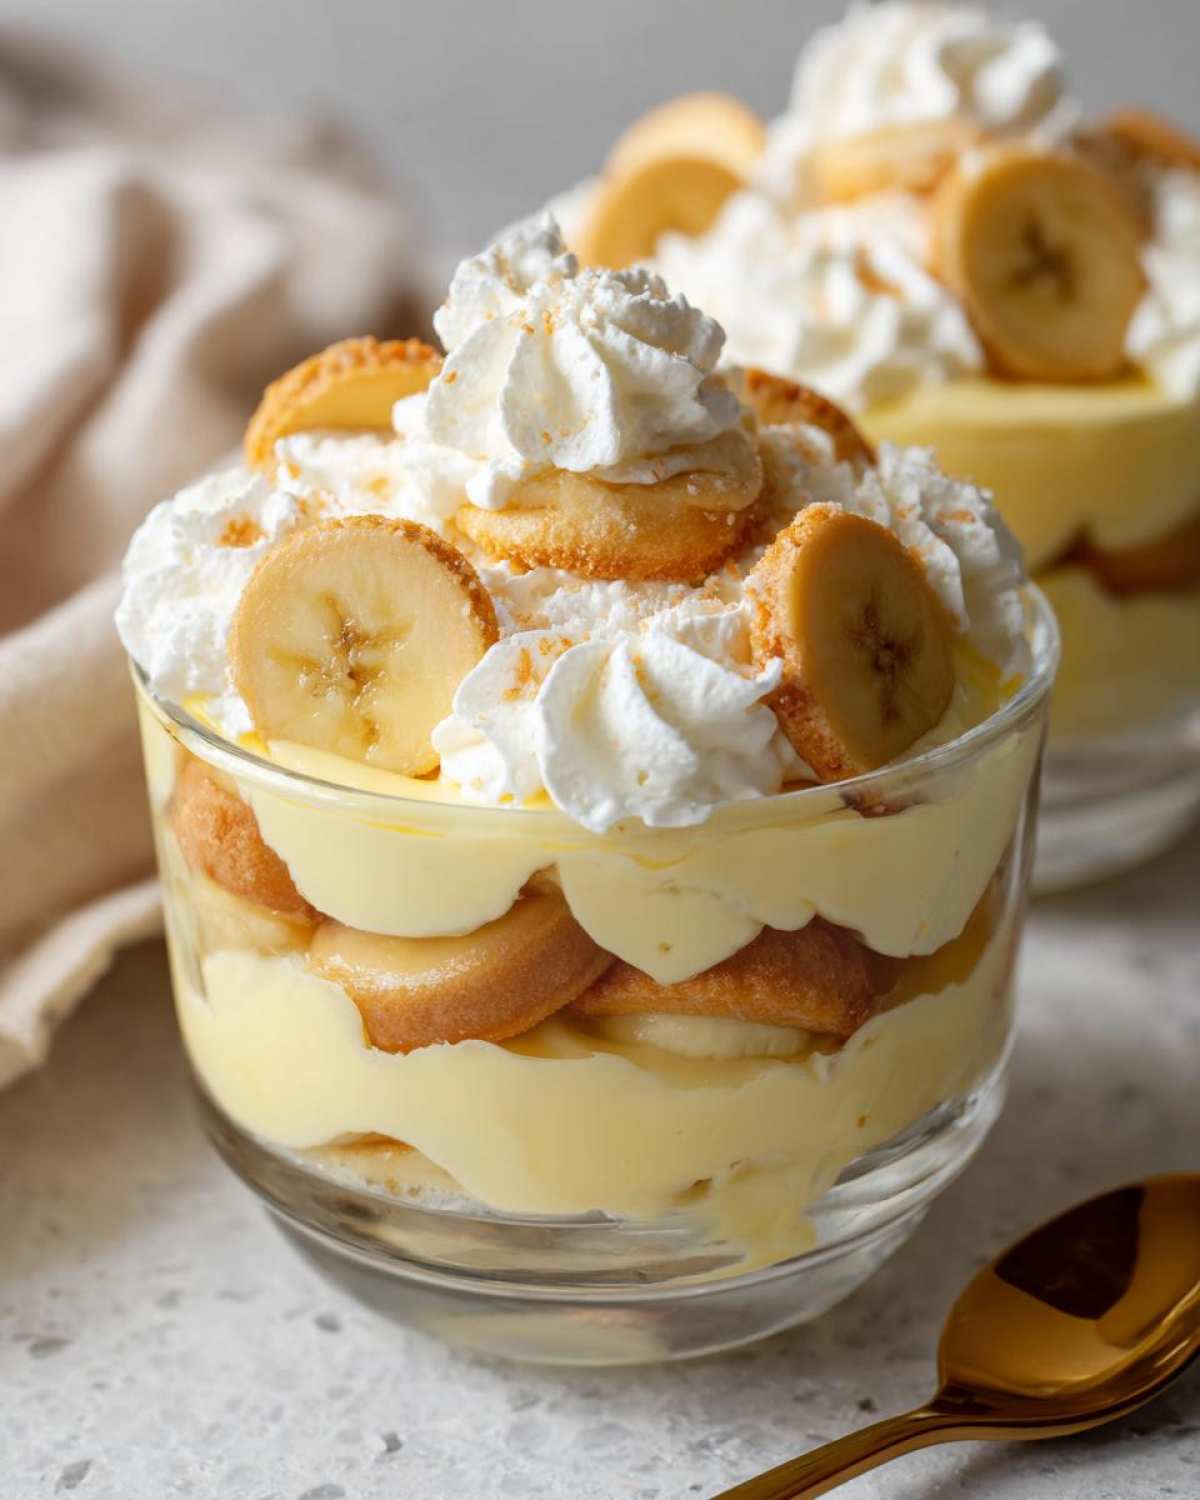
- The ultimate creamy texture thanks to scratch-made custard.
- Perfect contrast between soft pudding and crisp vanilla wafers.
- It holds its shape beautifully, making it a showstopper for any potluck.
Achieving Peak Creaminess in Your Banana Pudding
The secret isn’t magic; it’s technique! We rely on egg yolks to give this dessert its luxurious body and deep yellow color. You have to slowly introduce the hot milk mixture to those yolks—that’s tempering, folks. If you rush it, you get scrambled bits instead of silky smooth filling for your dessert!
Ingredients for the Best Banana Pudding Ever
Okay, let’s talk supplies! Getting the *best* ingredients is what makes this ultimate < banana pudding so unforgettable. You’ll notice we aren’t using any shortcuts here—we need that rich, homemade vanilla pudding flavor. The three egg yolks are non-negotiable for structure, and make sure those bananas are ripe; brown spots mean maximum sweetness!
Here is exactly what you need to whip up this gorgeous dessert:
- 1 cup granulated sugar
- 1/4 cup cornstarch
- 1/4 teaspoon salt
- 1 1/2 cups cold milk
- 3 large egg yolks, lightly beaten
- 2 tablespoons unsalted butter
- 1 teaspoon vanilla extract
- 4 large ripe bananas, sliced
- 1 box (11 ounces) vanilla wafers
- 2 cups heavy cream
- 1/4 cup powdered sugar
See that list? It’s classic, simple, and guarantees you’ll have the creamiest, richest banana pudding on the block when you’re done assembling!
How to Prepare the Homemade Vanilla Pudding Layers for Banana Pudding
This is where the real work happens to make the absolute best < banana pudding. We have to build the custard base, and honestly, constant stirring is your best friend here—if you walk away even for a second, you risk scorching the bottom layer! Whisk your sugar, cornstarch, and salt first, then slowly slick in that cold milk until everything is perfectly smooth before you even think about turning on the heat.
Once it starts bubbling and thickens after boiling for just a minute, pull it off the stove immediately. That’s when we introduce the yolks, but slowly! After mixing in the butter and vanilla, pour the pudding straight into a clean bowl. Now, here is my absolute must-do expert tip: take a piece of plastic wrap and press it directly onto the surface of the pudding. If you don’t do this, you’ll end up with a weird rubbery skin, and nobody wants that on their creamy < banana pudding!
It needs a good two hours in the fridge to get completely chilled before we can even think about assembly. Patience, friend, patience!
Tempering the Egg Yolks: A Crucial Step
I know tempering sounds fancy, like something reserved for pastry chefs, but it’s totally simple! We do it because egg yolks are delicate. If you dump hot pudding straight into them, the heat cooks them instantly, and you get chunks of cooked egg instead of creamy filling. So, you take just a tiny bit of that hot pudding and whisk it into the yolks first. This gently warms them up, bringing them up to temperature slowly so they mix in like silk, ensuring your overall dessert base is perfectly smooth.
Assembling Your Creamy Banana Dessert Layers
Once that homemade vanilla pudding is perfectly chilled—and I mean *perfectly* chilled—it’s time for the fun part: the layering! If you rush this step, you end up with mushy wafers, and nobody wants a sad, soggy bottom layer in their < banana pudding. I learned this the hard way years ago when I was trying to rush dessert for a big family picnic; the wafers dissolved completely!
The order is everything for this beautiful < creamy banana dessert. Start with a nice, thin spread of that cold pudding on the bottom of your glass dish. Then, we cover that completely with a neat layer of those vanilla wafers. Next up are your fresh banana slices—try to get even coverage there—and then you dollop about a third of your fluffy whipped cream right over the top of the fruit.
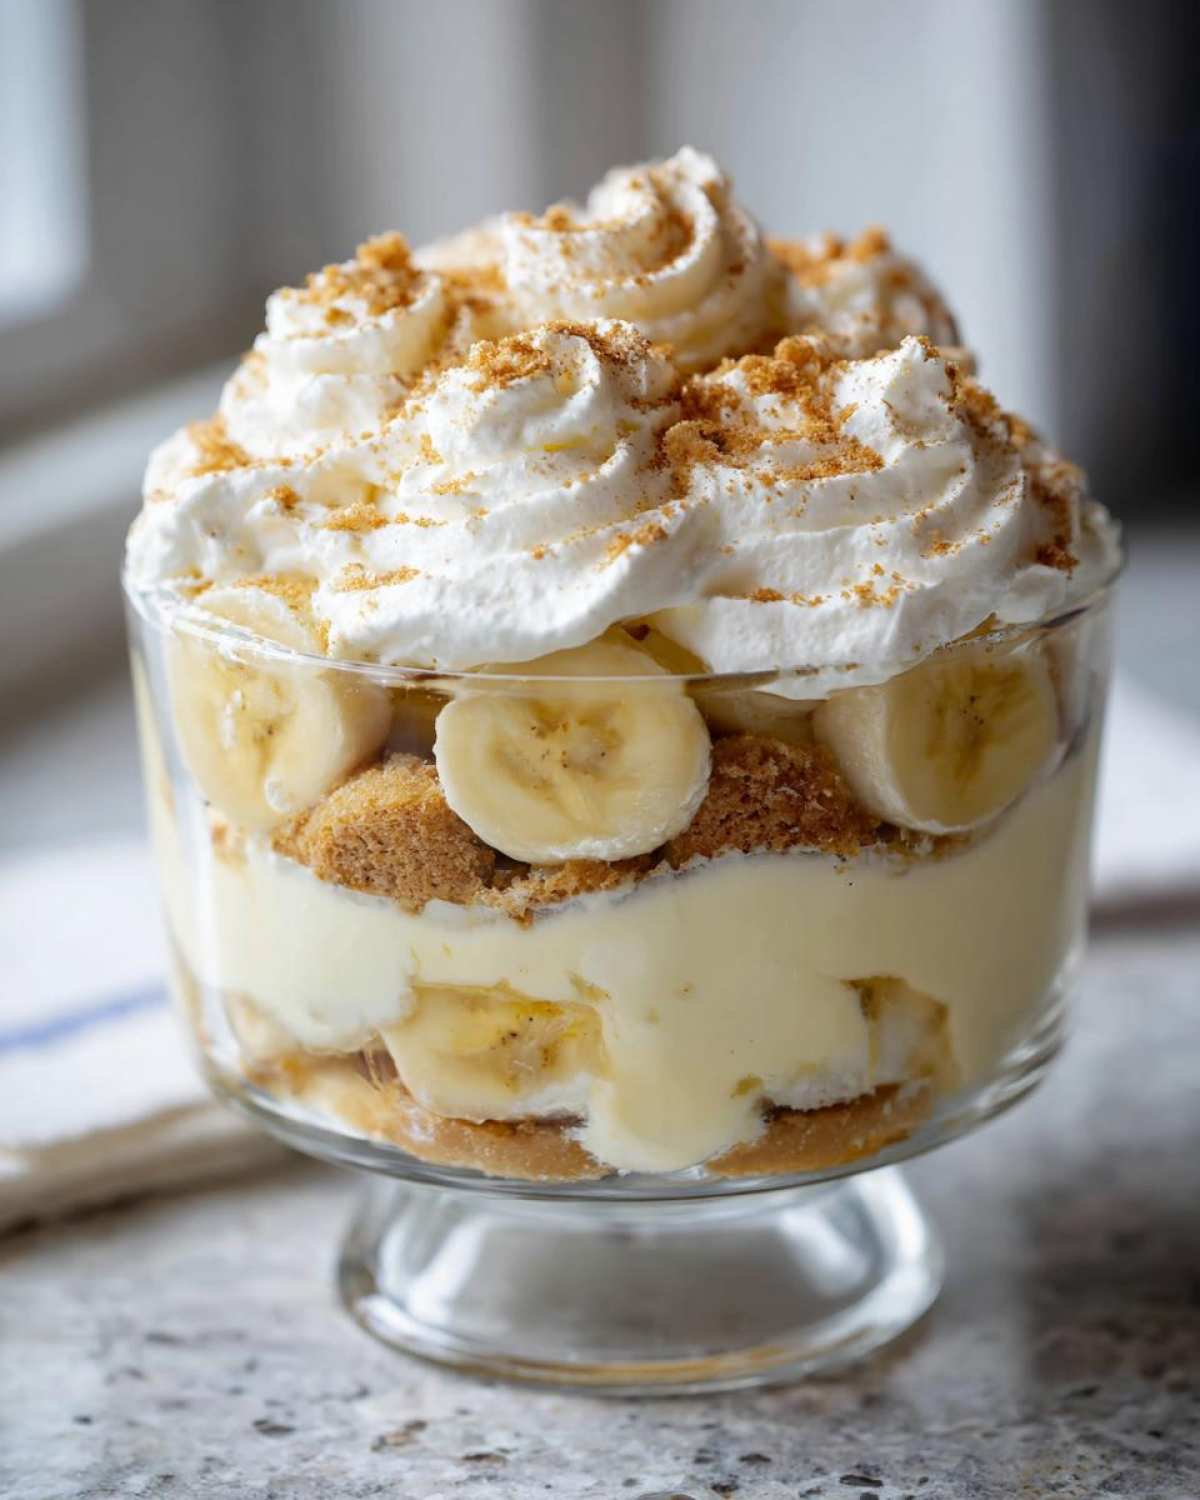
Keep repeating that sequence: pudding, wafers, bananas, whipped cream. You should end perfectly with that lovely cloud of whipped cream as the crowning glory for your ultimate Southern < banana pudding. It’s visually stunning when you can see the layers through the glass!
Tips for Success with This Southern Comfort Food Desserts Banana Pudding
Even though this < banana pudding is straightforward, I always get questions about tweaks! My grandma always said to treat your ingredients lovingly, and I’ve learned a few tricks over the years to make this Southern comfort food dessert shine even brighter. For example, if you want a truly *rich* dessert experience, swap out the plain milk in the pudding base for half-and-half. Wow, does that ever make things decadent!
Another thing people ask about is the baked version—because sometimes you just need that toasted meringue top, right? You absolutely can bake this, but you skip the whipped cream topping. Instead, layer everything as usual, spread a beautiful meringue over the top, and pop it into a 350°F oven for about fifteen minutes until it’s golden brown. It’s a completely different experience than the no-bake < banana pudding, but equally delicious.
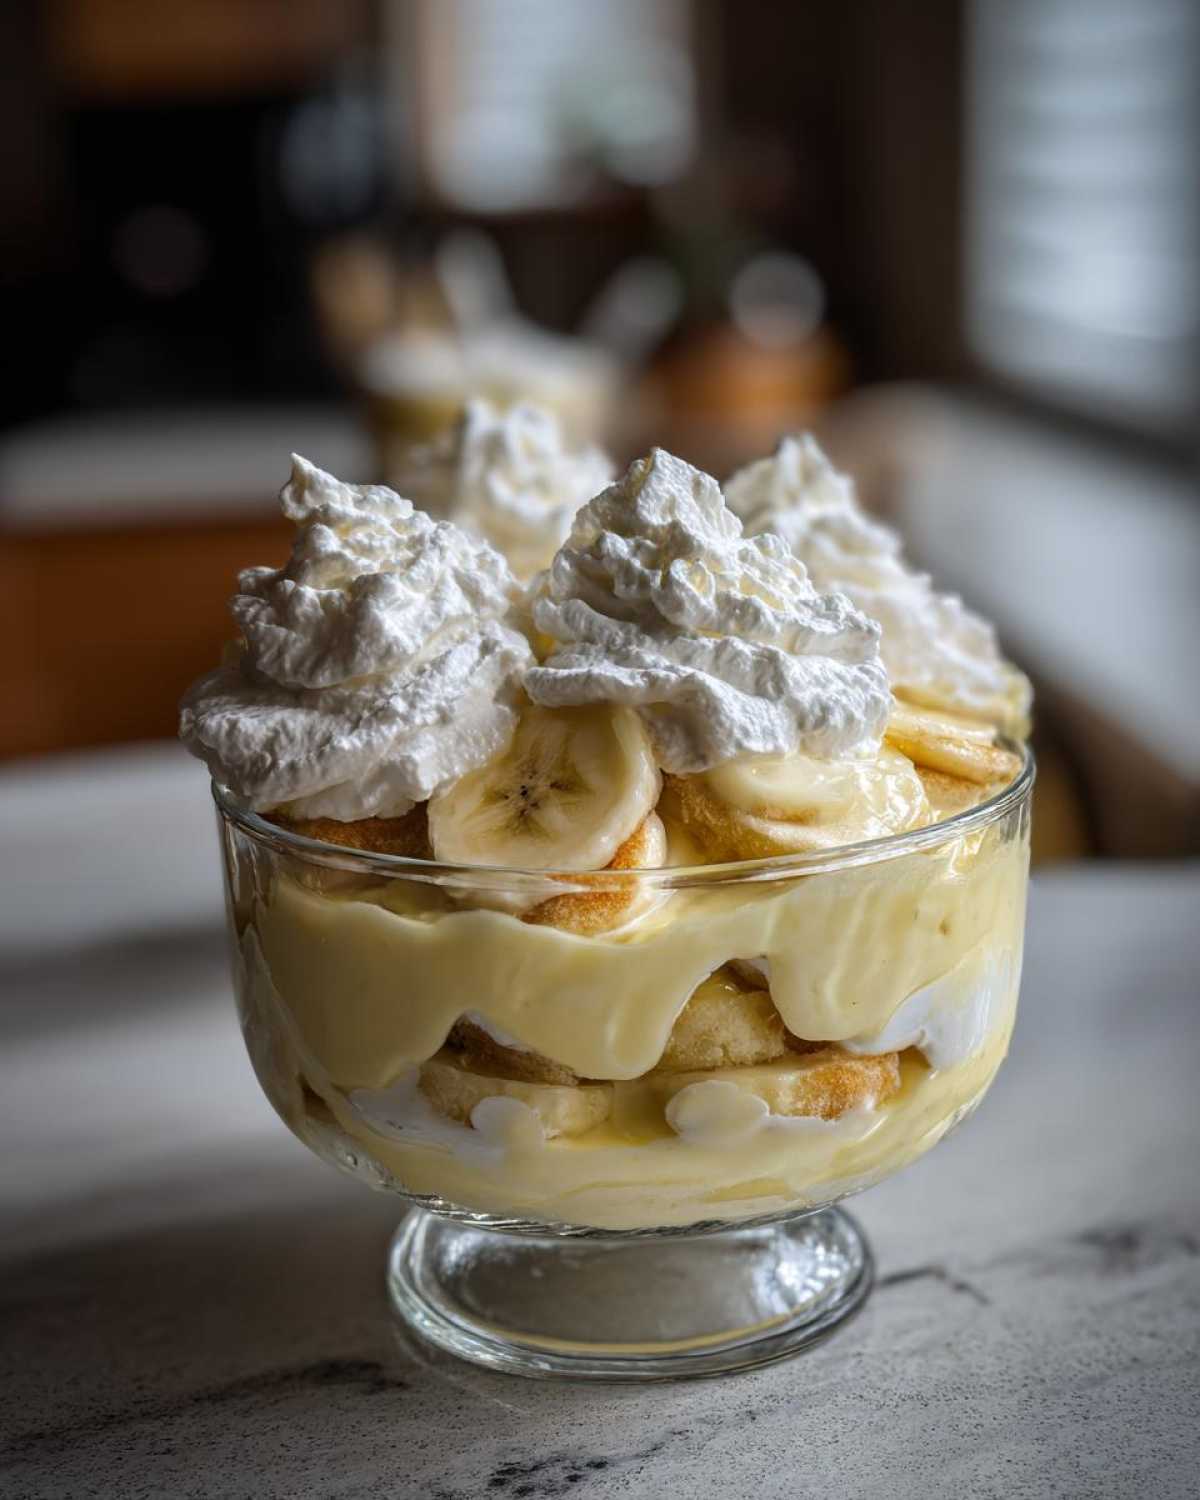
One final thought for this fantastic < banana pudding: slice those bananas right before you assemble. They brown so fast once they hit the air, and nobody wants gray bananas in their beautiful layered dessert!
Make Ahead Chilled Desserts: Storing Your Banana Pudding
The greatest thing about this dessert, besides how incredibly creamy it is, is that it truly thrives when made ahead! This is the ultimate recipe for anyone who loves < easy no bake protein bars, because you need that chill time. Remember Step 14 in the recipe? That four-hour chilling minimum isn’t just a suggestion; it’s essential!
When you let this dessert sit, two magical things happen. First, the vanilla wafers start to soften up as they absorb moisture from the pudding and bananas. They lose that hard crunch and become these delightful, tender little cake-like squares that soak up all the flavor. Second, the flavors just marry together! That hint of vanilla complements the cooked custard so much better after the ingredients have had time to talk to each other in the cold.
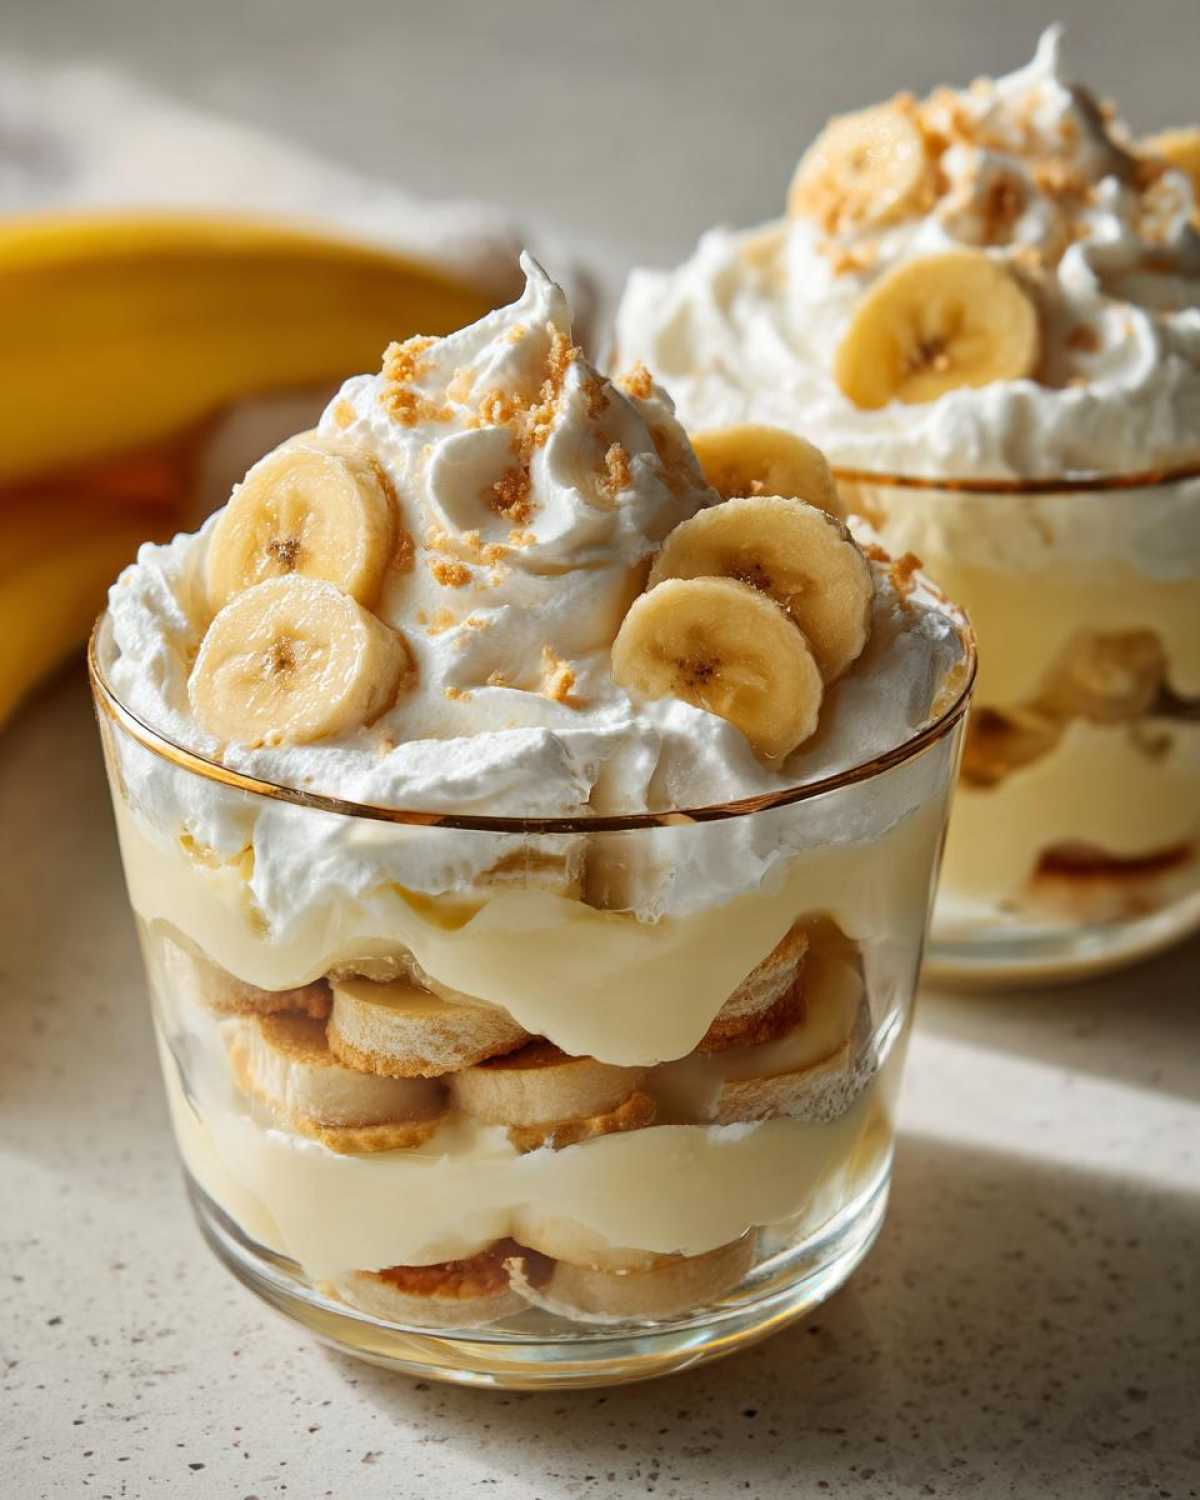
You can assemble the entire trifle dish the night before you plan to serve it. Honestly, I think it tastes even better on Day Two! Store it covered tightly in the refrigerator. It stays fantastic for about three days, though trust me, leftovers rarely last that long in my house. Just be sure to slice those bananas right before you layer everything up, like I mentioned before, to keep them looking their vibrant best!
Variations on the Classic Banana Pudding Recipe
While this classic < banana pudding is perfect just as it is, sometimes you just need to jazz things up a tiny bit for a grown-up crowd! You don’t have to stray far from the main recipe to make a big change. If you don’t have Nilla Wafers on hand, don’t panic! Try swapping them out for crisp shortbread cookies or even thin slices of pound cake. That gives your upcoming < banana pudding a totally different, richer texture we all love.
My favorite little twist for special occasions? Whip a small splash of good bourbon right into your heavy cream along with the powdered sugar. Just a teaspoon or two does the trick, giving this comforting < banana pudding a hint of warm depth that is absolutely divine. It’s still easy, still creamy, and still a winner for any gathering!
Serving Suggestions for This Banana Dessert for Potlucks
When it’s time to haul this amazing < banana pudding out for that big family potluck, presentation matters! I always grab my big, deep glass trifle dish because letting everyone see those defined layers of pudding, wafers, and cream is half the fun. If you’re nervous about transport, though, individual little jars or clear cups work great too!
It’s such a rich dessert, so it pairs perfectly with something simple, like a strong, black cup of coffee. No need for fancy drinks when you have the best < banana pudding ready to go!
Frequently Asked Questions About Banana Pudding
I get so many questions whenever I post a photo of this dessert! It’s completely understandable because everyone wants their **creamy banana dessert** to be absolutely perfect. This recipe definitely shines, but sometimes you just need a quick answer for your specific situation. Here are the things I hear most often about making the **best banana pudding ever**!
Can I use pre-made vanilla pudding instead of making it from scratch?
Yes, you technically can, but honestly, I wouldn’t recommend it if you want that fantastic texture we’ve been working towards! The beauty of this **classic banana pudding recipe** comes from cooking the custard base ourselves using cornstarch and egg yolks—it gives the cream such a rich, comforting depth that the store-bought stuff just can’t match. If you use pre-made, you’re skipping the whole tempering step, and the final result will always feel a little lighter and less luxurious.
How long can I assemble this banana pudding ahead of time?
This is one of my favorite **make ahead chilled desserts** because it stores so well! The absolute best flavor and texture is reached when you let it chill for a solid four hours after assembly, as detailed in the instructions. However, if you’re prepping for a big event, you can assemble the entire thing the night before, giving it a full 12 hours in the fridge. This gives the wafers plenty of time to soften perfectly. Any longer than 24 hours, and you might start losing the structural definition between those beautiful layers.
Remember, for the prettiest result, make sure your homemade pudding is fully chilled before whipping the cream and layering everything. You can find my favorite tips for mixing bread dough, like ensuring perfect hydration levels, over at < my bread archives, but the rules for custards are all about temperature control!
Print
Classic Southern Banana Pudding
- Total Time: 4 hours 40 min
- Yield: 8 servings
- Diet: Vegetarian
Description
Make a creamy, layered Southern banana pudding using homemade vanilla pudding and vanilla wafers.
Ingredients
- 1 cup granulated sugar
- 1/4 cup cornstarch
- 1/4 teaspoon salt
- 1 1/2 cups cold milk
- 3 large egg yolks, lightly beaten
- 2 tablespoons unsalted butter
- 1 teaspoon vanilla extract
- 4 large ripe bananas, sliced
- 1 box (11 ounces) vanilla wafers
- 2 cups heavy cream
- 1/4 cup powdered sugar
Instructions
- In a medium saucepan, whisk together the granulated sugar, cornstarch, and salt.
- Gradually whisk in the cold milk until smooth.
- Place the saucepan over medium heat. Cook, stirring constantly, until the mixture thickens significantly and comes to a boil. Boil for 1 minute, stirring constantly.
- Remove the saucepan from the heat. In a small bowl, temper the egg yolks by slowly whisking about 1/2 cup of the hot pudding mixture into the yolks.
- Pour the tempered yolk mixture back into the saucepan with the remaining pudding. Return to low heat and cook for 1 minute, stirring constantly. Do not boil.
- Remove from heat. Stir in the butter and vanilla extract until the butter melts and is fully incorporated.
- Pour the pudding into a bowl. Press plastic wrap directly onto the surface of the pudding to prevent a skin from forming. Chill in the refrigerator for at least 2 hours, or until completely cold.
- When ready to assemble, whip the heavy cream and powdered sugar together until stiff peaks form.
- To assemble, spread a thin layer of chilled pudding in the bottom of a large glass trifle dish or individual serving dishes.
- Arrange a layer of vanilla wafers over the pudding. Top the wafers with a layer of sliced bananas.
- Spoon about one-third of the whipped cream over the bananas.
- Repeat the layers: pudding, wafers, bananas, whipped cream, until all ingredients are used, ending with a final layer of whipped cream.
- Chill the assembled pudding for at least 4 hours before serving for best flavor and texture.
Notes
- For a richer flavor, use half-and-half instead of milk in the pudding base.
- If you prefer a baked version, layer the ingredients and top with meringue instead of whipped cream, then bake at 350 degrees Fahrenheit for 15 minutes until lightly browned.
- Slice the bananas just before assembling the layers to minimize browning.
- Prep Time: 30 min
- Cook Time: 10 min
- Category: Dessert
- Method: Chilling
- Cuisine: American
Nutrition
- Serving Size: 1 serving
- Calories: 450
- Sugar: 45
- Sodium: 150
- Fat: 22
- Saturated Fat: 12
- Unsaturated Fat: 10
- Trans Fat: 0.5
- Carbohydrates: 60
- Fiber: 2
- Protein: 6
- Cholesterol: 110