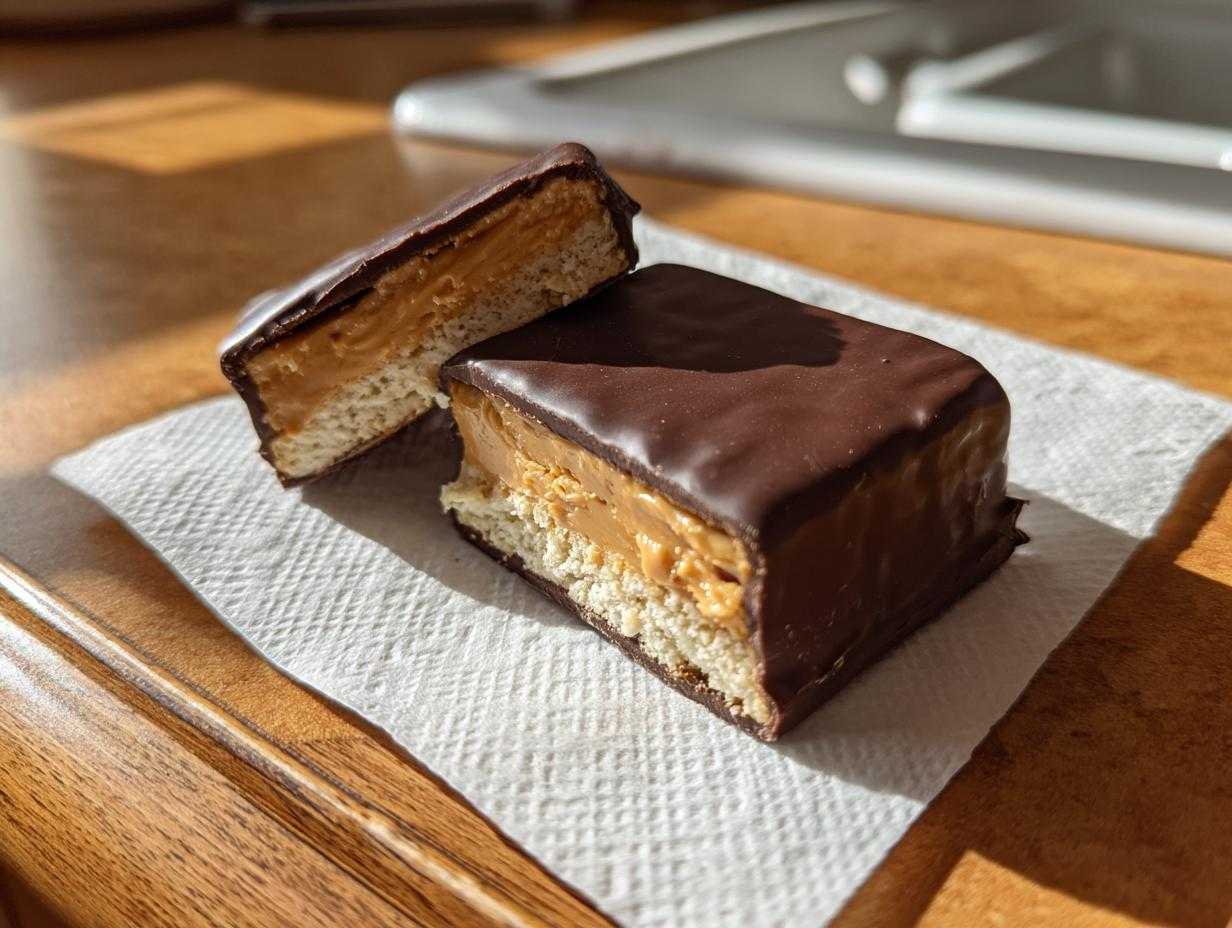
You know those classic peanut butter buckeye candies? The ones that are so creamy and rich you just can’t stop at one? And you love the satisfying, simple crunch of a good graham cracker, right? Well, I’ve figured out how to smash those two cravings together into the easiest, most dangerous snack ever invented: **buckeye graham crackers**! Trust me when I say you will never look at a bag of graham crackers the same way again. This is a completely no-bake recipe, which means you don’t even have to turn on the oven. Seriously, if you need a last-minute dessert for a party or just an afternoon snack that tastes like you worked for hours, this is your secret weapon. I make huge batches of these for neighborhood potlucks, and they disappear before I can sneak one for myself!
Why You Will Love These Buckeye Graham Crackers (No Oven Required!)
Honestly, what’s not to adore about a dessert where the hardest part is resisting eating the filling before it even hits the cracker? These beauties are packed with flavor but require zero fuss. I always have the ingredients on hand for when a craving strikes!
- Total Speedsters: Getting the filling mixed and sandwiches assembled takes maybe 20 minutes tops. That’s why I call them my go-to quick dessert assembly trick!
- The Ultimate Crowd-Pleaser: Peanut butter and chocolate? It’s a match made in heaven. Everyone loves them, whether it’s for holiday no bake trays or just Tuesday.
- No Heat Required: We are skipping the oven entirely! This makes them perfect for hot summer days or when you just don’t want the kitchen heating up. For more oven-free fun, check out my guide on easy no-bake protein bars, too.
- Kid Approved: They are robust enough for little hands to help assemble the sandwiches—big win for me!
Essential Ingredients for Perfect Buckeye Graham Crackers
The beauty of this recipe is that it pulls together some of the most common pantry staples, which is probably why I always have everything needed to whip up a batch. But listen closely—ingredient quality really matters here because there’s nowhere to hide a bland flavor!
Since we aren’t baking anything, the texture relies completely on how well we combine these simple components. We are basically making a giant version of the peanut butter center found inside a traditional buckeye candy, then sandwiching it between crisp graham crackers before adding the chocolate topping. If you want the best smooth texture, stick to using what I list!
Here is what you need to gather for about 18 fantastic easy graham cracker desserts:
- Creamy Peanut Butter (2 cups): I stress creamy here! If you use natural peanut butter, the oil tends to separate, and it makes the filling way too runny for this sandwich method. We need stability!
- Powdered Sugar (1 cup): Make sure this is sifted if it looks clumpy, or your filling will have little gritty pockets.
- Unsalted Butter (1/2 cup or 1 stick): This MUST be softened to room temperature. Don’t cheat this step! If it’s cold, it won’t cream properly with the sugar and peanut butter.
- Vanilla Extract (1 teaspoon): Just a splash, but wow, it makes a huge difference in rounding out the flavor profile.
- Graham Crackers (1 full box, about 14 ounces): Use the whole, flat sheets, not the little squares if you can find them. We need the surface area for spreading!
- Semi-Sweet Chocolate Chips (12 ounces): This is the classic choice that balances the sweetness of the filling perfectly.
- Shortening or Coconut Oil (1 tablespoon): This is my secret weapon for the chocolate bath! It’s not optional if you want that shiny, smooth coat that sets up nicely without being too hard to bite through.
Step-by-Step Instructions for Making Buckeye Graham Crackers
Okay, you have your ingredients lined up—perfect! Now for the fun part. Since this is a no-bake peanut butter chocolate treat, the only thing we have to worry about is getting that creamy filling perfect and keeping our chocolate smooth. Seriously, this whole process is so fast, that’s why I keep flagging it for quick dessert assembly when company shows up unexpectedly!
Mixing the Creamy Peanut Butter Filling
First things first, we need that luscious filling. Grab your medium mixing bowl. We are going to toss in the softened butter, the creamy peanut butter, the powdered sugar, and that little splash of vanilla extract.
Start mixing slowly, maybe with a hand mixer or a sturdy spoon if you’re feeling strong! You want to beat this mixture until it is completely beautiful—smooth, uniform, and fluffy. There should be absolutely no streaks of butter or lumps of sugar left. If your butter was properly softened (like, really soft), this happens surprisingly fast!
Assembling and Chilling the Graham Cracker Sandwiches
This is where we transition from a filling into an actual graham cracker dessert bar! Take one whole graham cracker sheet and spread a nice, generous layer of that amazing peanut butter mixture across the top. I usually aim for edge-to-edge, but don’t stress too much if you have a tiny border exposed.
Now, take your second graham cracker sheet and gently place it right on top to create a sandwich. Give it a very light press—just enough so it sticks together. Don’t press hard, or the filling will squish out the sides! Keep repeating this until you run out of filling. You should get about 18 crunchy, delicious sandwiches.
Here is the CRUCIAL step: Line a baking sheet with parchment paper (this saves your freezer shelves!). Lay your little sandwiches out on that sheet and send them into the freezer for a minimum of 30 minutes. They need to be rock solid before we try to dip them, otherwise, you are going to have a melty, messy disaster on your hands.
Melting the Chocolate Coating
While your sandwiches are chilling hard in the freezer, let’s deal with the luxurious chocolate coating. In a microwave-safe bowl, combine your 12 ounces of semi-sweet chocolate chips and that tablespoon of shortening or coconut oil. That little bit of oil is what keeps your chocolate runny and shiny!
Zap it in the microwave in 30-second bursts. Seriously, don’t walk away! Stop and stir well after every 30 seconds. You need to keep stirring until every last chip is melted and the mixture looks glossy and smooth. If it seizes up, you microwaved it too long or didn’t stir enough. Keep stirring until it’s perfect!
Dipping and Setting the Buckeye Graham Crackers
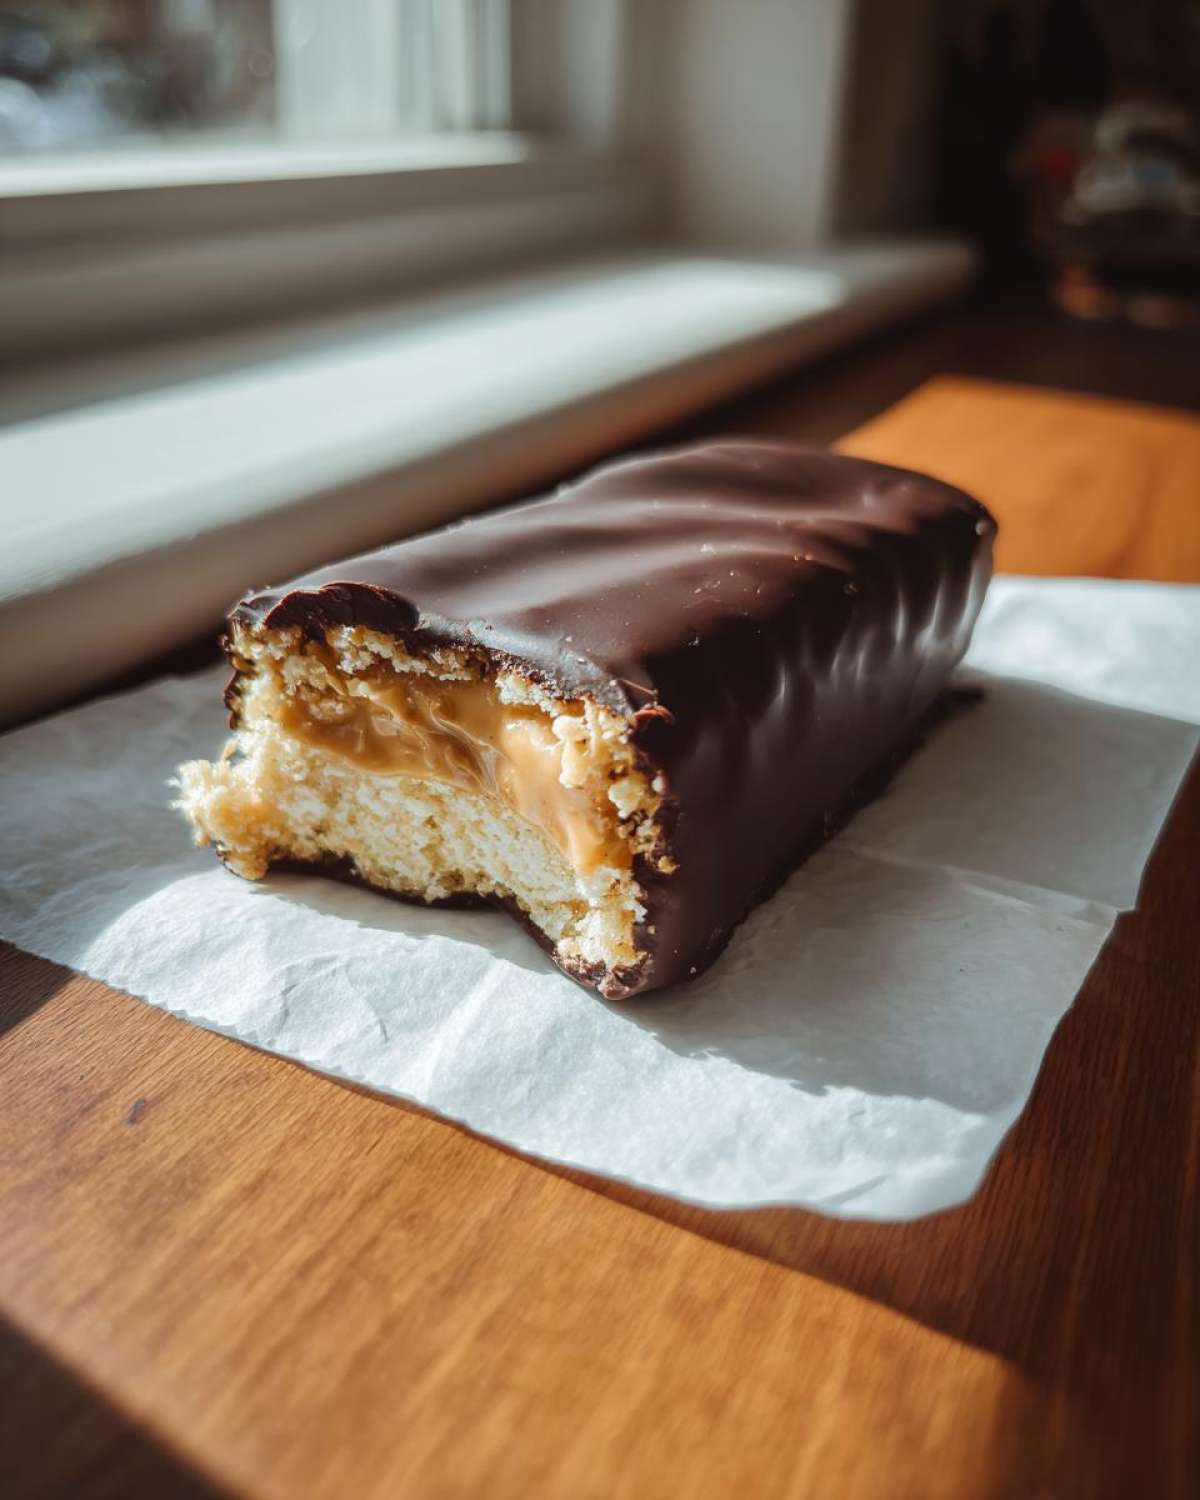
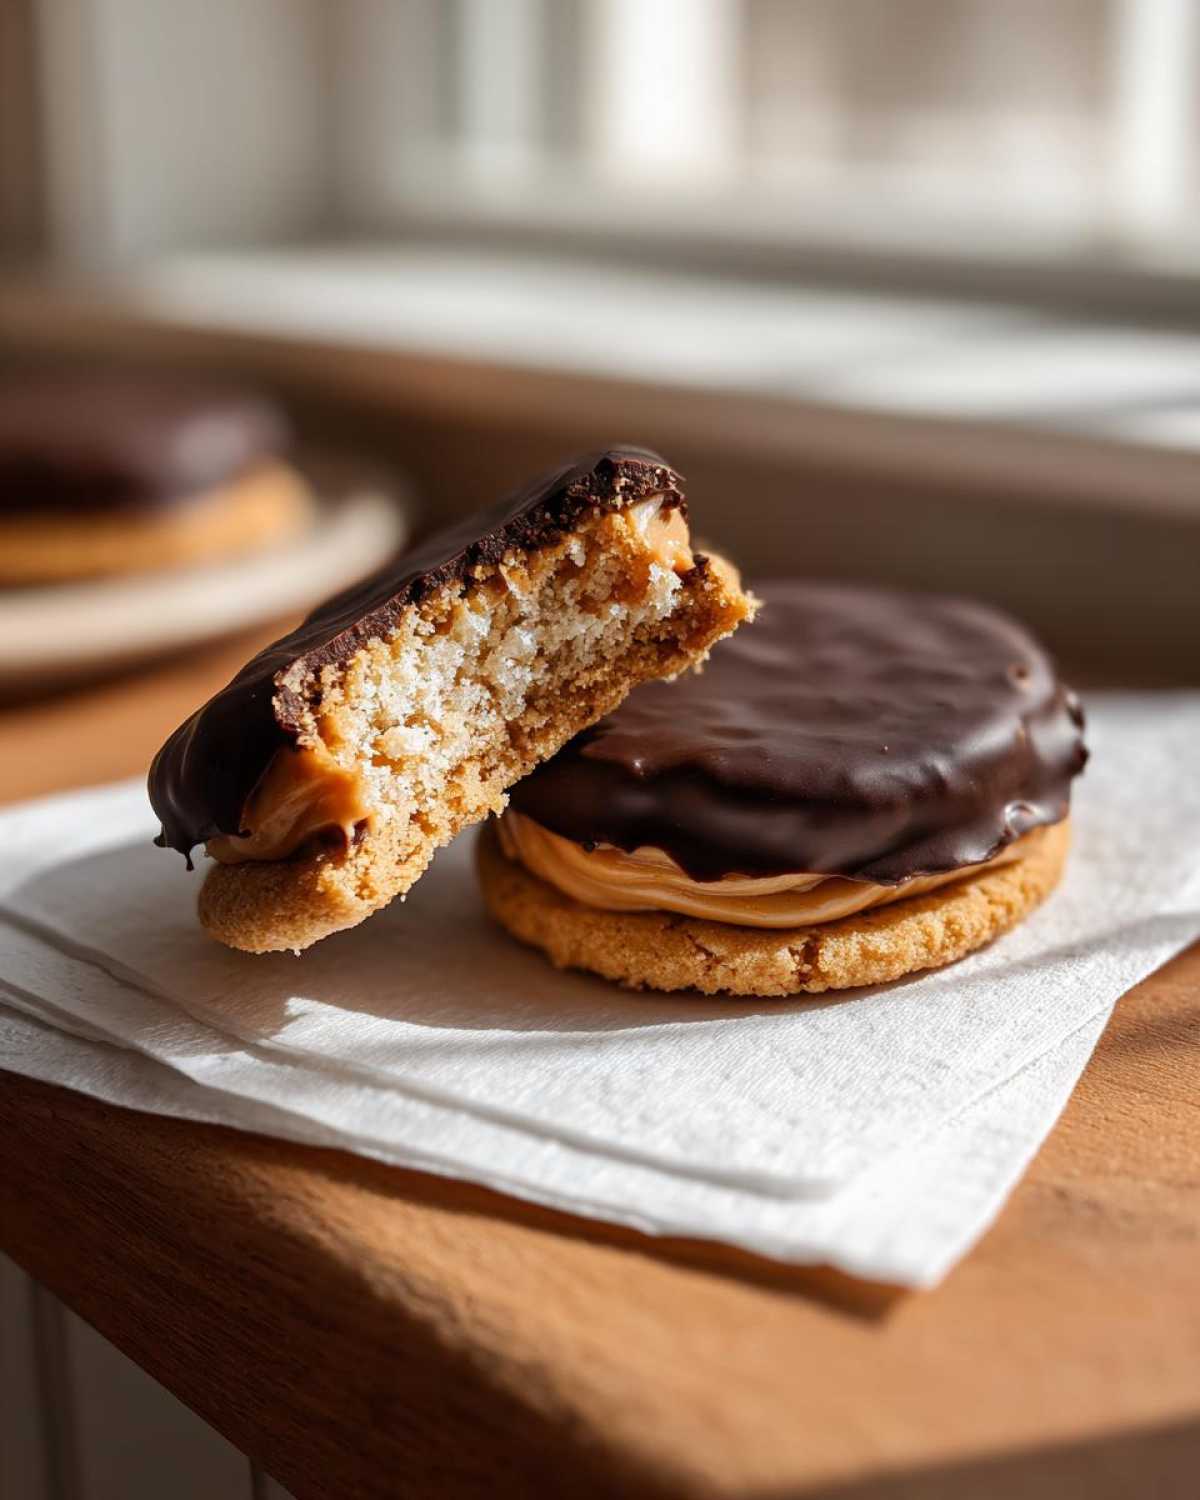
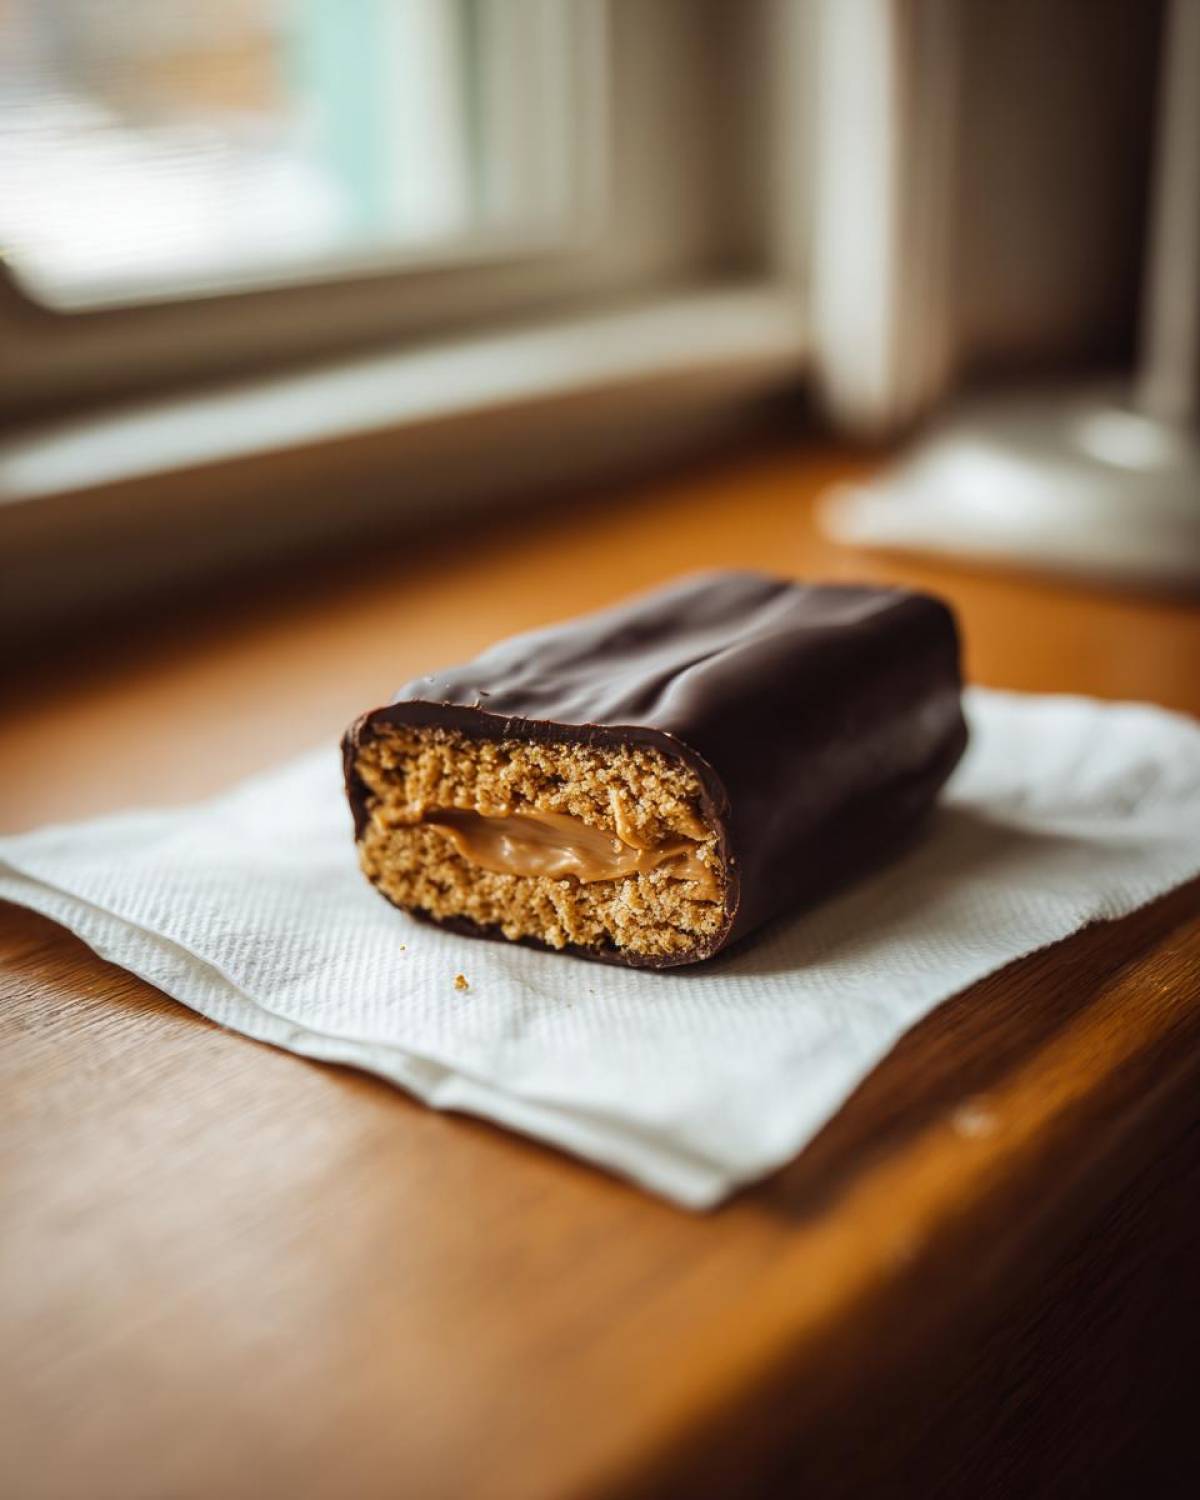
Your sandwiches should be cold now—take them out! It’s dipping time. I prefer to dip them about halfway up, just to let that beautiful peanut butter filling peek out a little, like a traditional buckeye candy. Use a fork to gently lower the sandwich into the melted chocolate.
My biggest piece of advice for a clean look? Once it’s submerged, gently lift it out onto the fork, pause over the bowl, and quickly tap that fork against the side of the bowl two or three times. This gets rid of the excess chocolate so you don’t end up with big puddles on the bottom.
Place the dipped bars back onto your waiting parchment paper. They just need a little time to set up. Pop the whole tray back into the refrigerator for about 15 minutes. Once that chocolate is firm to the touch, you’re done! Seriously, that’s it!
Tips for Success with Your Buckeye Graham Crackers
Even though this is a “no-bake” recipe, there are still a few critical moments where you can mess things up! Don’t worry, though; I’ve been there. I messed up my first few batches thanks to rushing things, especially the timing of the chilling. Pay attention to temperature and timing, and you’ll get professional-looking results every single time. These tips have saved me from sticky messes more times than I can count!
If you want a perfectly smooth texture and a professional finish, these little details make all the difference. For more easy tips on handling peanut butter desserts, you should peek at my classic peanut butter cookies recipe—it uses some similar principles!
Make Sure That Butter Is Actually Softened: I can’t stress this enough! If your butter is cold, the filling will be lumpy, and trying to spread that thick mixture onto the graham crackers will just result in cracked crackers. Stick it on the counter for a few hours before you start. It should indent easily when you poke it, but it shouldn’t look greasy or melted.
Keep the Filling Frozen Hard: This is the secret to clean dipping. If the peanut butter filling is even remotely soft when it hits the warm chocolate, two things happen: the filling melts slightly and oozes out, creating a messy border, or it sticks to everything and tears the sandwich apart. Thirty minutes in the freezer is the minimum! If your kitchen is warm, bump that time up to 45 minutes.
Chocolate Seizing Prevention: If your melted chocolate suddenly looks grainy, thick, and totally unlike smooth syrup, it has “seized.” This almost always happens if even a single drop of water or condensation gets into the bowl while you are melting it. Use bone-dry bowls and utensils. If it does seize, don’t throw it out! Stir in another half tablespoon of shortening or oil, and keep stirring over a very low heat source—sometimes you can save it!
The Gentle Tap Technique: When you lift your chocolate-dipped bar out of the melted chocolate with the fork, you need to get rid of the excess. I do this by tapping the fork gently, just once or twice, against the side edge of the bowl. This lets the gravity pull the extra chocolate back down into the dipping bowl. If you tap too hard, you can knock the whole bar off the fork! Practice once or twice on scrap crackers if you feel nervous.
Ingredient Notes and Simple Substitutions for Buckeye Graham Crackers
I get so many questions about swapping ingredients, and I totally understand! We all have different things in the pantry, or maybe you’ve got a strong preference for one flavor over another. The good news is that because this is a no-bake recipe, the structure is forgiving, but there are a couple of things you absolutely shouldn’t change if you want that perfect peanut butter chocolate squares texture.
If you’re trying to get creative, here are my thoughts on how flexible we can be with the core components of your last minute dessert ideas.
Peanut Butter Requirements: Creamy is King
I strongly push for creamy peanut butter here. Why? Because we are beating it with sugar and fat to create a smooth, pliable filling that needs to hold its shape between two crackers. If you use natural peanut butter—the kind where the oil separates on top—your filling will be too oily and runny. It just won’t firm up enough in the freezer to hold those sandwiches together for dipping!
Now, if you absolutely insist on crunchy peanut butter, you *can* use it if you’re feeling brave, but just know the texture of your filling will be much rougher. It won’t be the signature smooth, decadent layer you get with creamy. It’s still a tasty crunchy chocolate covered sweet, but it won’t mimic the classic buckeye texture as closely.
Chocolate Choices: Finding Your Favorite Dip
When it comes to the chocolate coating, you have a little more leeway! We used semi-sweet because I find it balances the interior sweetness perfectly. But if you prefer a sweeter experience, go ahead and use milk chocolate chips. They melt beautifully, especially with that little bit of shortening added.
On the flip side, if you like it more bittersweet—less sugar, more cocoa richness—feel free to substitute the semi-sweet chips with dark chocolate chips. Just watch the melting time closely, as darker chocolates can sometimes thicken up a bit faster. You can even swirl white chocolate into the semi-sweet if you want something fun for a holiday tray!
Do I Have to Use Shortening in the Chocolate?
I know, some people hate buying shortening just for one tablespoon! But that shortening (or coconut oil, which works just as well) is your ticket to smooth, professional-looking chocolate. It lowers the melting point just enough so the chocolate stays liquid longer while you dip, and more importantly, it ensures the coating sets up with a beautiful shine instead of looking dull or streaky.
If you skip it, your chocolate will be thicker, harder to work with, and it might look a little dull once it sets. For a truly great chocolate dipped graham cracker recipe coat, I really suggest keeping that little bit of fat in there!
Storage and Make-Ahead Options for Buckeye Graham Crackers
This is one of my favorite things about these last minute dessert ideas—they hold up beautifully! Unlike a cake or cookie that gets stale fast, because these are sealed with that layer of chocolate and our filling is mostly fat and sugar, they honestly last quite a while.
The trick is keeping them cool and dry; the refrigerator is definitely your friend here. You can absolutely make these ahead of time, which is a lifesaver when you’re prepping for a big gathering or the holidays. Forget stressing out right before the guests arrive!
Keeping Them Fresh in the Fridge
Once the chocolate has fully set—and I mean completely firm—you can transfer your finished creamy peanut butter graham bites into an airtight container. I usually layer them between sheets of parchment paper just to make sure the chocolate doesn’t stick to any neighbors in the container. They do great sitting in the fridge for up to a week!
I notice they taste best within the first five days, but they’re perfectly safe to eat beyond that. If you leave them out on the counter, the filling can get a little too soft if your house is warm, and you risk sticking or melting, especially if the chocolate coating gets bumped. So, fridge storage is my strong recommendation for maintaining that perfect texture.
Freezing Tips for a Big Batch
If you are prepping far in advance for a massive party tray, feel free to freeze them! Yes, Buckeye Graham Crackers freeze like a dream, often better than most baked goods.
- Make sure they are fully set and stored in a freezer-safe, airtight container.
- For extra protection against freezer burn or absorbing any weird freezer smells, wrap the whole container tightly in a layer of plastic wrap before putting the lid on.
- They should keep wonderfully for about two months this way. Honestly, the graham cracker crunch holds up better than I expected!
When you want to serve them, just pull the container (still wrapped) out of the freezer and let them thaw overnight in the refrigerator. Don’t try to rush the thaw by leaving them on the counter, or you risk condensation making the chocolate watery. A slow, cold thaw keeps them looking and tasting perfect!
Fun Variations of Buckeye Graham Crackers
Once you master the core recipe—and trust me, you will quickly memorize this one because it’s so simple—you have to start playing around with the ingredients! Because this recipe is so straightforward, it’s the perfect canvas for playing with textures and colors. I love surprising people with these little twists when I put out my holiday no bake trays; they always ask what’s different!
Don’t feel tied down to the plain graham cracker either. Mixing up the base is a fantastic, easy way to change the whole flavor profile without messing with the incredible peanut butter filling. Here are a few easy swaps that make a huge visual and taste difference!
Switching Up the Cracker Base
If you want a little flavor variation right from the start, swap out your standard graham crackers for something else structural. This keeps it still satisfyingly crunchy but adds a little surprise element!
- Honey Maid Cinnamon Graham Crackers: Oh my gosh, yes! If you use the cinnamon-flavored ones, the peanut butter filling gets this amazing, warm, spiced undertone that tastes incredible with the dark chocolate. It’s like a full flavor upgrade with zero extra work!
- Chocolate Graham Crackers: Now, this is for the real chocolate lovers out there. Sandwiching the peanut butter filling between two rich chocolate crackers means you are getting double the chocolate flavor—you might even want to use milk chocolate for dipping just to keep the balance!
Adding Some Sparkle and Crunch
My favorite time to customize is right after I dip the sandwich into the chocolate but before I put it in the fridge to set. That creamy, melted chocolate is like wet glue for toppings!
For the holidays, I always grab some festive sprinkles that match the colors for the season. If you just want a little something extra, try adding a sprinkle of:
- Crushed Peanuts: If you didn’t use crunchy peanut butter in the filling, topping the chocolate with finely chopped roasted peanuts gives you that wonderful classic buckeye texture on the outside.
- Flaky Sea Salt: A tiny sprinkle of flaky sea salt right on top of the wet chocolate is transformative! The salt cuts through the richness of the peanut butter and the chocolate just perfectly. It makes them taste way more gourmet than they actually are, ha!
- White Chocolate Swirl: After you dip the sandwich halfway in semi-sweet, take a few white chocolate chips, melt them separately (using the same shortening trick!), and drizzle thin lines over the dark chocolate layer before it sets. It looks so fancy and really highlights the peanut butter chocolate cookie alternative vibe!

Experimenting with the Chocolate Coat
We already talked about milk or dark chocolate, but you can also play around with different melting techniques for the coating if you want a different finish.
If you really want to try to mimic a professional candy shell, you can try tempering the chocolate, but honestly? Who has time for that? Sticking with the shortening or coconut oil method I shared provides the same fast, shiny finish perfect for these quick peanut butter squares. Just remember that if you’re aiming for that signature ‘buckeye’ look where a tiny circle of peanut butter peeks out, you’ll need to use a toothpick or small skewer to hold onto the center square and only dip three-quarters of the way up!
Serving Suggestions for Buckeye Graham Crackers
I swear, once you have these treats ready, you’ll find an excuse to serve them everywhere! Because they are so sturdy and don’t require refrigeration once the chocolate is set (though I still pop mine in the fridge just to be safe), they are my absolute favorite thing to set out when unexpected company drops by.
When I’m setting up my dessert spread, I like mixing these in with other textures. They provide that perfect crunchy-creamy element that breaks up softer cookies or fudges. Forget fancy platters; a simple white cake stand lets the chocolate and graham cracker layers really shine through.
Perfect for Game Days and Big Gatherings
If you’re hosting a Super Bowl party or birthday bash, this is your ace in the hole. They are perfectly portioned—no slicing required! These are messy enough to feel indulgent but neat enough that people aren’t dripping chocolate everywhere while they mingle. They’re fantastic alongside chips or veggie trays because they satisfy that sweet tooth instantly. I always call them the ultimate holiday no bake trays addition because they stack so well!
Since they are so easy to transport (just keep them flat in a container), they are my go-to contribution for school bake sales or office potlucks. They travel better than almost anything else I bake!
Pairing Perfection: What to Serve Alongside Them
What do you drink with something this rich? Honestly, you have options, depending on the vibe of the gathering. For an afternoon snack, these are phenomenal alongside a tall, cold glass of milk—the way we ate cookies as kids! The milk cuts through the richness of the peanut butter perfectly.
If it’s an evening party or something a little more adult, the bitterness of coffee is the best match for the sweetness of the chocolate coating. I like making a fresh pot of strong brew whenever I set these out. The slightly earthy coffee tone really enhances the chocolate flavor without making things overly sugary.
A Fun After-School Snack
My kids absolutely demand these when they get off the bus, and honestly, who can blame them? They satisfy every kid craving—peanut butter, chocolate, and crunch—all at once! Because they are so fast to make, I can whip up a batch on Sunday and have a grab-and-go, kid friendly no bake snack ready for lunchboxes throughout the week. Just make sure you wrap them individually in plastic wrap for the lunchbox so the chocolate doesn’t stick to the sandwich next to it!
Frequently Asked Questions About Buckeye Graham Crackers
I always get questions when I bring these out because people are convinced they must be complicated! They think that because they taste decadent, there has to be some fussy step involved, but nope! These are totally accessible, even if you’ve never made candy before. Here are some of the things I hear most often about making these amazing no bake peanut butter chocolate treats—I hope this helps clear up any doubts you have!
Can I use crunchy peanut butter in these Buckeye Graham Crackers?
That’s a totally fair question! Look, I highly, highly recommend using creamy peanut butter because we are trying to achieve that smooth, melt-in-your-mouth texture that makes the classic buckeye filling so famous. When you use creamy, the peanut butter, sugar, and butter blend into this beautiful, uniform cloud of deliciousness.
If you use crunchy, it’s certainly not the end of the world, and you’ll still have a tasty quick peanut butter square! However, the texture inside won’t be as smooth. You’ll feel those peanut chunks throughout. If you prefer that extra bit of texture, go for it, but just know you’re leaning away from the traditional smooth filling that contrasts so nicely with the crisp graham cracker.
How long do they take to set up before eating?
Setting time is all about making sure that peanut butter filling is hard enough so it doesn’t squish out, and the outer chocolate shell is firm enough to handle. Since this is one of my favorite kid friendly no bake snacks, I know waiting is the hardest part for everyone!
As for the actual setting time:
- Chilling the Sandwiches: They need at least 30 minutes in the freezer before they are ready for dipping.
- Setting the Chocolate: After dipping, they need about 15 minutes in the refrigerator for the chocolate coat to fully harden.
So, if you are super efficient, you can have these ready to eat in under an hour total! That’s why they’re perfect when you suddenly realize you need to take a dessert somewhere!
How do I prevent the chocolate from becoming dull or streaky?
Ugh, dull chocolate is the worst! It makes your beautiful work look old and chalky, even if the inside is perfect. This happens for two main reasons, and thankfully, we can control both of them. If you follow my instructions on the dipping process, you should avoid the dullness entirely.
First, you absolutely must add that little bit of shortening or coconut oil (the tablespoon!) to your chocolate chips when melting them. That simple addition lowers the fat content just enough to keep the chocolate glossy and flowing beautifully. It prevents that streaky, thick look even when it sets overnight.
Second, make sure your peanut butter sandwiches are rock cold when they hit that warm chocolate. If the cold filling warms up the chocolate too fast, it can mess with the way the cocoa butter sets, leading to a dull finish. Cold sandwiches + chocolate with added oil = shiny, perfect coating!
Are these suitable for kids’ parties?
Absolutely, they are practically *made* for kids’ parties! They are sturdy, portion-controlled like a mini candy bar, and everyone loves the flavor combo. Since they are classified as a kid friendly no bake snack, they are usually a huge hit on busy party tables. We don’t have to worry about hot ovens, and they hold up well sitting out for a while!
Just be aware that they are very rich, so maybe put out smaller plates! Also key: because the chocolate coating is firm, they are much less messy than cookies that might crumble everywhere. I always make sure to include these alongside any fruit platter to give the parents a bit of a break, haha!
Print
No-Bake Buckeye Graham Crackers
- Total Time: 55 min
- Yield: About 18 sandwiches
- Diet: Vegetarian
Description
Make these easy, no-bake treats that combine creamy peanut butter filling with crunchy graham crackers, all dipped in chocolate for a simple dessert.
Ingredients
- 2 cups creamy peanut butter
- 1 cup powdered sugar
- 1/2 cup (1 stick) unsalted butter, softened
- 1 teaspoon vanilla extract
- 1 box (about 14 ounces) graham crackers, whole sheets
- 12 ounces semi-sweet chocolate chips
- 1 tablespoon shortening or coconut oil
Instructions
- In a medium bowl, beat together the peanut butter, powdered sugar, softened butter, and vanilla extract until smooth and creamy. This is your peanut butter filling.
- Take one graham cracker sheet and spread a generous layer of the peanut butter mixture on top.
- Place a second graham cracker sheet directly on top of the filling to create a sandwich. Gently press down.
- Repeat this process until all the filling is used, creating graham cracker sandwiches.
- Place the assembled sandwiches on a baking sheet lined with parchment paper. Freeze for at least 30 minutes to firm up the filling.
- In a microwave-safe bowl, combine the chocolate chips and shortening or coconut oil. Microwave in 30-second intervals, stirring well after each interval, until the chocolate is completely melted and smooth.
- Remove the chilled sandwiches from the freezer. Dip each sandwich halfway into the melted chocolate, allowing excess chocolate to drip off.
- Place the chocolate-dipped sandwiches back onto the parchment-lined sheet.
- Refrigerate the Buckeye Graham Crackers for about 15 minutes, or until the chocolate is set.
Notes
- For a cleaner dip, use a fork to lower the sandwich into the chocolate and then lift it out, tapping the fork gently on the side of the bowl to remove extra chocolate.
- You can use milk chocolate or dark chocolate instead of semi-sweet, depending on your preference.
- Store leftovers in an airtight container in the refrigerator for up to one week.
- Prep Time: 20 min
- Cook Time: 5 min
- Category: Dessert
- Method: No-Bake
- Cuisine: American
Nutrition
- Serving Size: 1 sandwich
- Calories: 350
- Sugar: 25
- Sodium: 180
- Fat: 22
- Saturated Fat: 8
- Unsaturated Fat: 14
- Trans Fat: 0
- Carbohydrates: 35
- Fiber: 2
- Protein: 10
- Cholesterol: 25