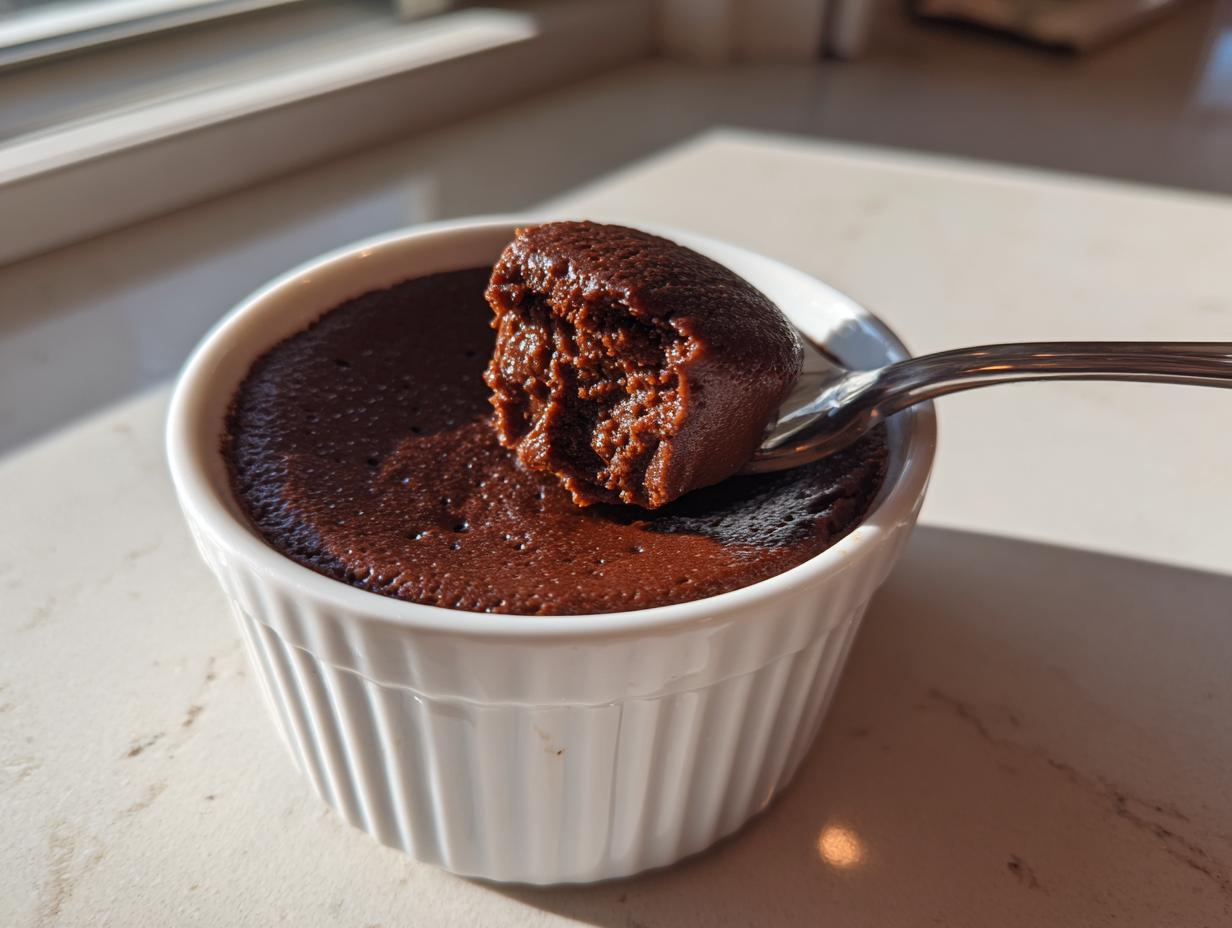
If there’s one dessert that instantly screams ‘fancy’ but secretly takes zero actual kitchen fuss, it’s a perfect, airy chocolate mousse. I mean, who doesn’t want that deeply rich, velvety texture that melts right on your tongue? Trust me, I’ve been saved by this exact recipe more times than I care to admit when an unexpected dinner party invite popped up. Seriously, just hearing people rave about how decadent this chocolate mousse is, when all I really did was chop chocolate and turn on the mixer, is the best feeling.
This isn’t one of those heavy, pudding-based imposters, either. This is the real deal, the classic French technique made super simple because it’s totally No Bake Chocolate Mousse. We’re getting that intensely Silky Smooth Dessert quality using just a few good ingredients. Forget complicated steps; we’re aiming for pure, unadulterated decadence, fast.
Why This Easy Mousse Dessert Delivers the Best Chocolate Mousse
I know there are a million ways to make mousse out there, but this specific method—the one I use when I need something guaranteed to wow—hits every single mark we talk about in the dessert world. It’s about structure, flavor depth, and most importantly, blissful ease of execution. You just mix, whip, and chill! No babysitting an oven, which is a win in my book. It’s truly the Best Chocolate Mousse I’ve ever whipped up.
Here’s why this formula truly works and gives you that restaurant-quality result:
- It’s completely No Bake Chocolate Mousse; we rely on chilling, not baking, to set everything perfectly.
- It hits that sought-after, incredibly Silky Smooth Dessert texture every single time.
- The use of high-quality chocolate ensures an unbelievably Rich Chocolate Dessert flavor profile.
Achieving That Velvety Chocolate Dessert Texture
The secret to the velvet feel isn’t magic, it’s air management! We tackle this by separating the eggs. The yolks mix with the cooled chocolate base to give incredible richness, but the whites are beaten separately into stiff peaks. When we gently fold those whites in—along with the whipped cream—we create tiny pockets of air throughout the base. That careful folding is what prevents it from deflating and turns it into that pure, airy cloud texture we crave.
The No Bake Chocolate Mousse Advantage
Honestly, the best part is the freedom! Since nothing goes into the oven, you are totally flexible. You can make this the morning before you need it, or even the day before, and it just chills out, getting firmer and more flavorful waiting for you. This makes it an absolute lifesaver for last-minute plans or when your oven is already packed with a roast. It’s the ultimate stress-free Dinner Party Dessert!
Ingredients for Your Homemade Chocolate Mousse
You only need five solid, real ingredients for this show-stopping Homemade Chocolate Mousse. I found that cutting corners here just doesn’t pay off, especially with something so simple. The fewer ingredients you have, the more important the quality of each one becomes, right?
Here’s what you need to gather before we start our magic:
- 6 ounces high-quality bittersweet chocolate, chopped (This is non-negotiable!)
- 1 cup heavy whipping cream, divided (We use this in two parts, so keep it handy!)
- 2 large eggs, separated (Yes, separated! This is key for the lift.)
- 2 tablespoons granulated sugar
- 1 teaspoon vanilla extract
Ingredient Notes and Substitutions for Chocolate Mousse
Let’s talk chocolate for a minute, because this determines if it’s a “good” dessert or a truly Rich Chocolate Dessert. You absolutely need that high-quality bittersweet chocolate, and I mean *at least* 60% cacao content. Anything less, and you’ll taste the difference; it won’t have that deep, luxurious flavor we’re going for.
Also, please take your eggs out about 30 minutes before you start. Room temperature eggs whip up so much better, especially the whites, which need to be pristine to give us that classic French Mousse Recipe lift. You want those stiff peaks to look like shiny mountains, not sloppy hills. And finally, splurge a tiny bit on your vanilla—since there are so few flavors here, the good stuff really shines through!
How to Make Chocolate Mousse: Step-by-Step Instructions
Okay, we have our superstar ingredients ready to go. Now comes the fun part—learning exactly How to Make Chocolate Mousse that tastes like it came from a high-end Parisian pastry shop, but really only took about 20 minutes of active work. Pay attention to the temperatures here; that’s how we nail the consistency and keep everything velvety smooth.
Melting Chocolate and Preparing the Base for Chocolate Mousse
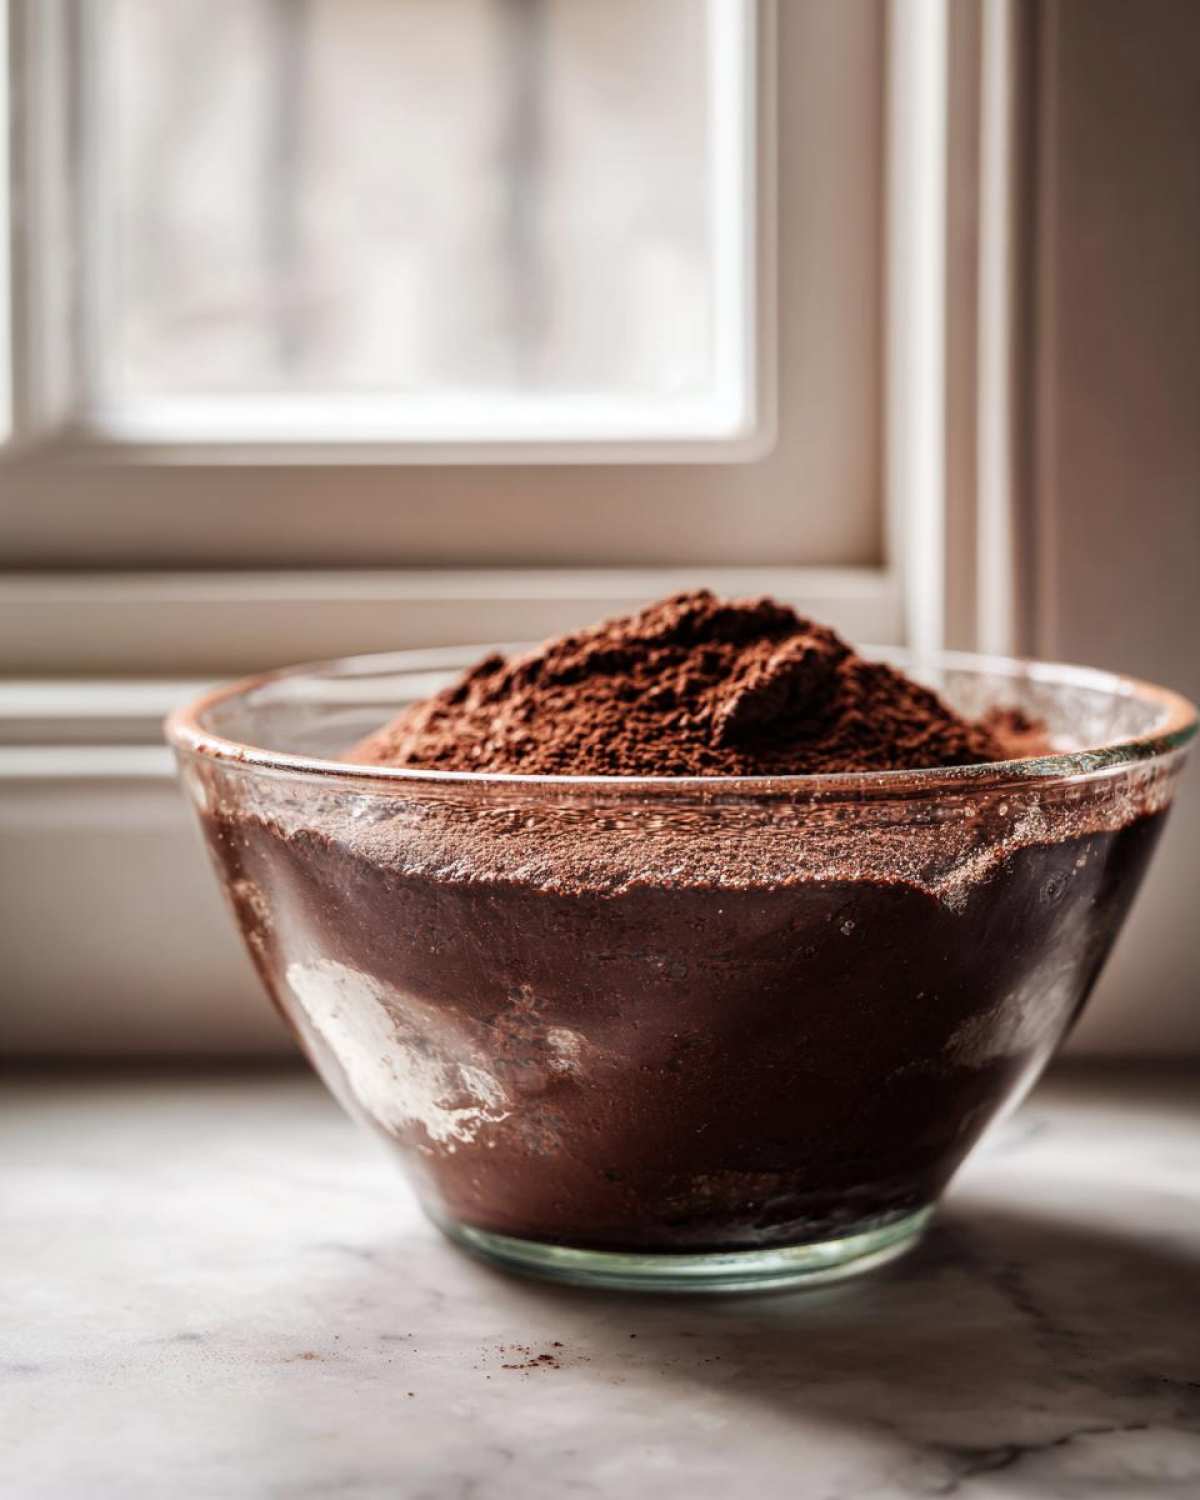
First things first: we need that gorgeous melted chocolate base. Take about half of your heavy cream—that’s 1/2 cup—and heat it up gently in a tiny saucepan until it just starts to simmer around the edges. Don’t let it boil wildly! Pour that hot cream right over your finely chopped bittersweet chocolate in a sturdy bowl. Let it sit there, undisturbed, for two full minutes. This lets the heat penetrate evenly. Then, whisk it slowly until it is totally, completely smooth. You shouldn’t see any lumps at all.
Next, grab another bowl. This is where we combine the richness. Beat your two egg yolks with the sugar until the mixture looks pale yellow and has thickened up. This takes a few minutes of good beating! Now, make sure your chocolate mixture has cooled down just a tiny bit—if it’s scorching hot, you’ll scramble those yolks, and trust me, you’ll see it! Whisk the slightly cooled chocolate into the egg yolk mixture until it’s totally uniform. Stir in that vanilla extract for good measure.
Folding in Whipped Cream for a Creamy Mousse
Time for the smooth factor! Take the remaining 1/2 cup of heavy cream and whip it up in a cold bowl until you get nice soft peaks. You want it holding its shape, but not stiff like meringue yet. Now, take a big dollop of that whipped cream and fold it into your chocolate-yolk base. This is called ‘lightening’ the base. Just gently cut down the middle and sweep up the sides. Don’t worry about perfection yet, we just want to loosen that thick chocolate up before adding the rest of the air!
Incorporating Egg Whites for the Lightest Chocolate Mousse
In a separate, super clean bowl—seriously, no grease allowed—beat your egg whites until they form stiff peaks. These are the bubbles that make the mousse so light! Now, gently fold the egg whites into your chocolate base in two separate additions. This is where you need the lightest touch possible; think of it like cradling a fluffy cloud. You need to maintain all that wonderful air we just whipped into the cream and the whites. If you overmix here, you’ll lose the airy quality, and we’ll end up with something dense instead of that perfect silky smooth dessert quality.
Chilling and Serving This Quick Chocolate Treat
Once everything is barely combined—stop folding when you can still see wisps of white—you’re ready to portion! Spoon the mousse directly into your serving glasses, small bowls, or whatever vessel you’ve chosen for this Quick Chocolate Treat. They need time to firm up properly, so pop them into the refrigerator for a minimum of 4 hours. I usually aim for overnight if I can wait!
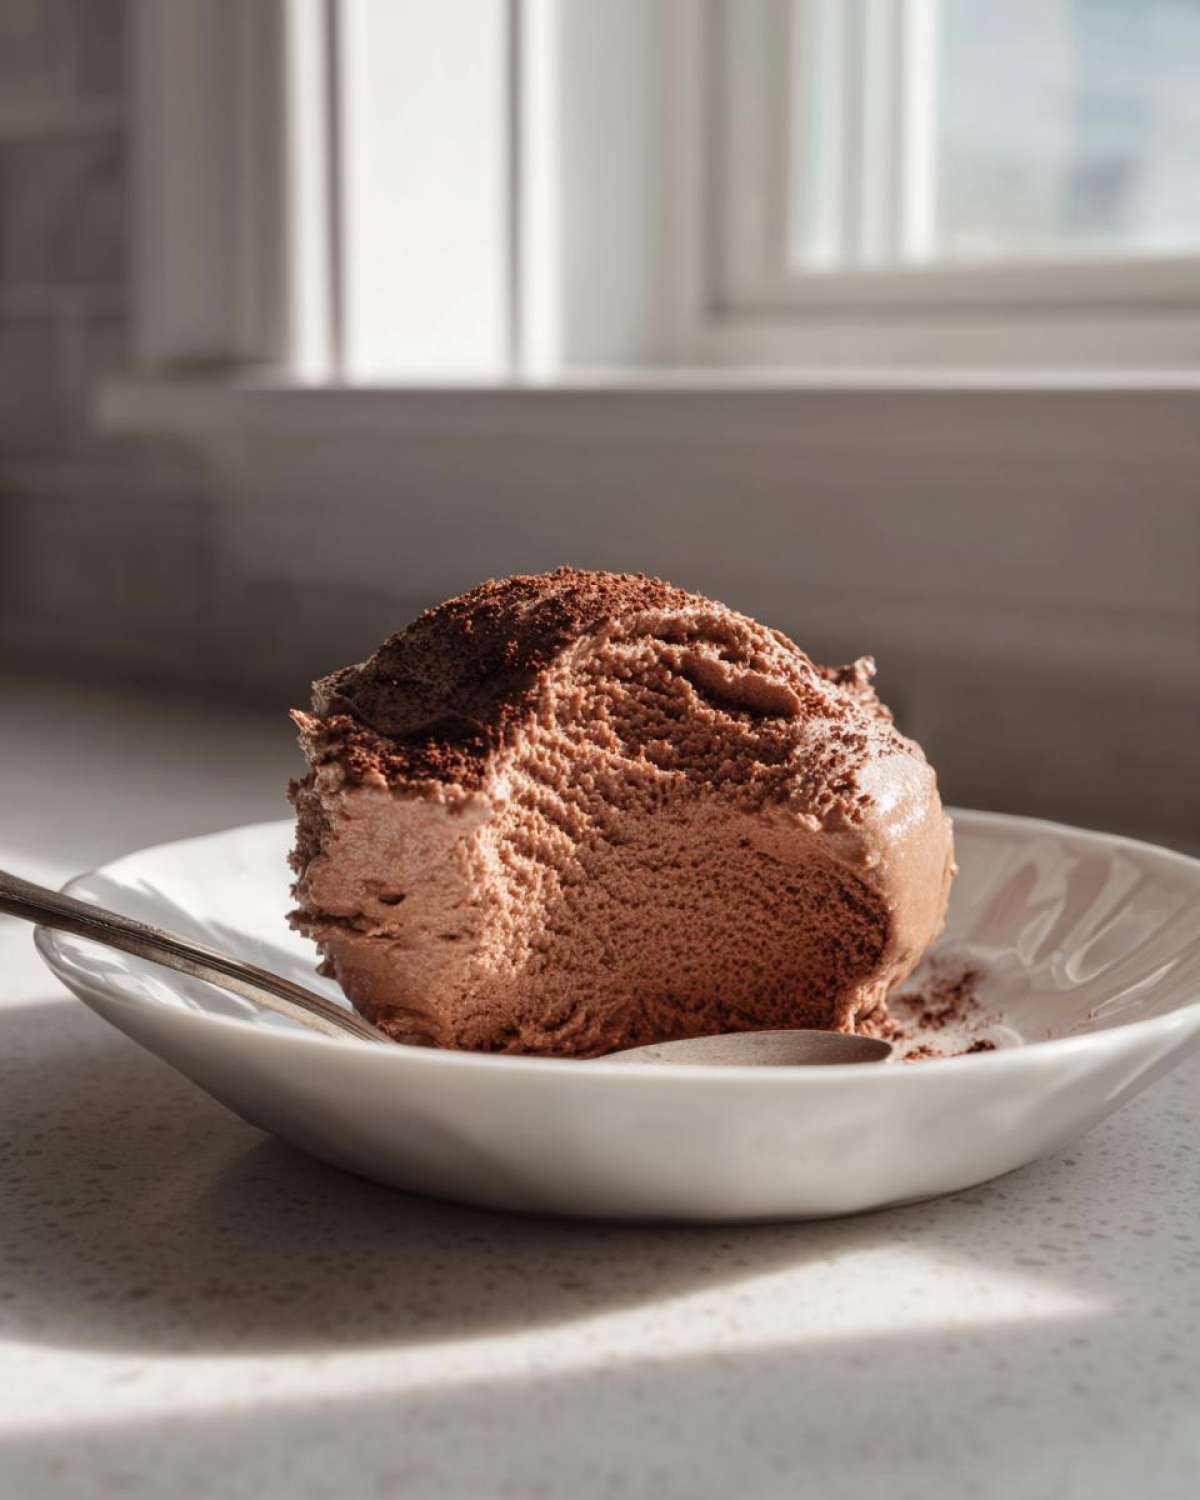
When you’re ready to serve this Elegant Sweet Treat, just dust lightly with unsweetened cocoa powder or top with a few fresh raspberries mentioned in the notes. That little bit of color really makes these individual servings pop. This chocolate creation is so simple, yet it always feels like a huge accomplishment!
If you want to see a different technique for cookies while the mousse chills, check out my guide on best soft chewy chocolate chip cookies!
Tips for Success Making the Best Chocolate Mousse
Listen, even the simplest recipes can go sideways if you rush the science, and this Chocolate Mousse Recipe is all about temperature! I learned this the hard way once when I added hot chocolate straight into the yolks—instant scrambled bits! Don’t make my mistake. We need the melted chocolate base to cool slightly before we incorporate the yolks; otherwise, you’re just making expensive chocolate scrambled eggs, not a Creamy Mousse.
Similarly, timing is everything when we’re whipping air into things. For that true Velvety Chocolate Dessert structure, your heavy cream and your bowl/whisk for the egg whites need to be cold—like, refrigerator cold. This helps the fat molecules in the cream stabilize faster, resulting in those beautiful peaks. If things are warm, the cream just turns soupy way too fast, and you’ll never get the volume you need for a light mousse.
Temperature Control for Silky Chocolate Mousse
The cooling of the chocolate mixture is critical. After you pour the hot cream over that chopped bittersweet chocolate, let it sit for those two minutes, then whisk until smooth. Then, set it aside on the counter while you deal with the yolks and sugar. It should feel just warm to the touch, not hot, before it meets the yolks. If you feel any real heat coming off it, wait a minute or two longer.
Now, for the whites and the remaining cream: when you are whipping them, use chilled bowls and chilled heavy cream. Cold helps everything whip up quicker and hold its structure longer. If you mess up and your whites aren’t stiff enough, just keep beating! But if you overbeat the heavy cream into butter stages—well, you’re making butter, so you might as well make some sour cream coffee cake while you’re at it!
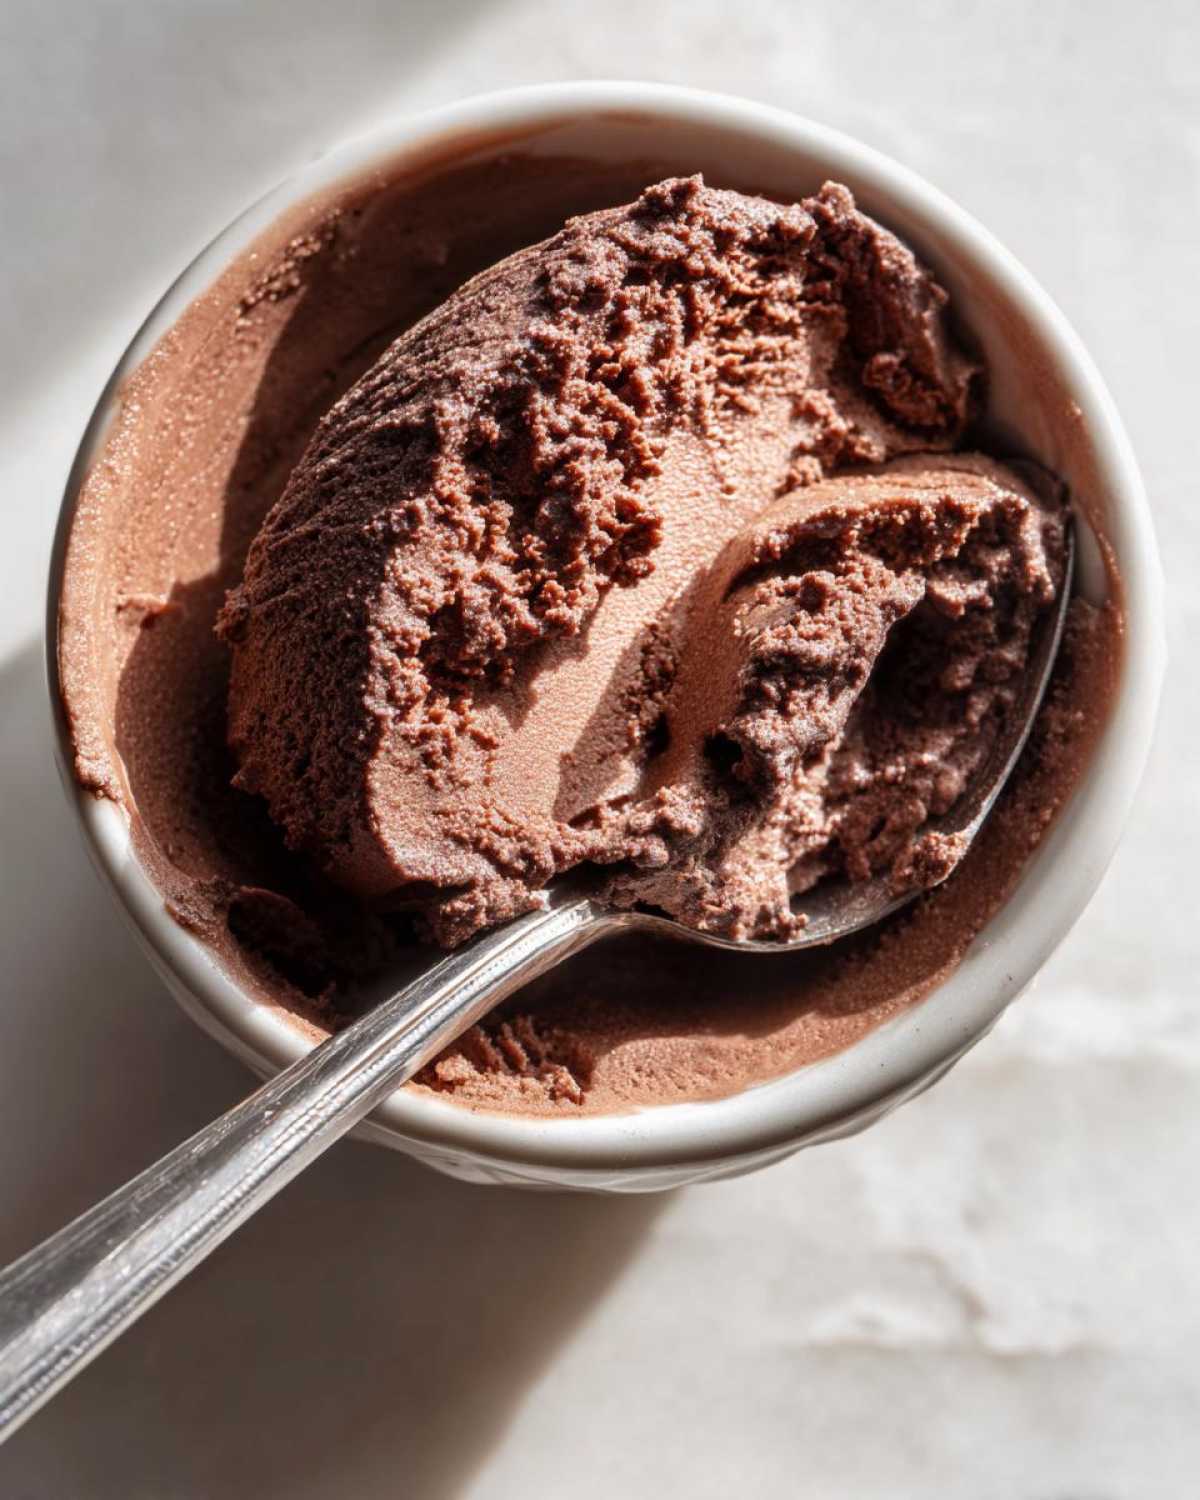
Remember, equipment cleanliness matters immensely when we introduce egg whites. Any trace of fat (like grease left over from washing the bowl) will stop the whites from whipping into their full, airy potential. Make sure the bowl and the whisk attachment you use for the egg whites are spotlessly clean and dry. That attention to detail is what separates a good mousse from a Gourmet Chocolate Dessert!
Storage and Reheating Instructions for Your Chocolate Mousse Dessert Idea
Since this is a fresh, airy, No Bake Chocolate Mousse leaning heavily on whipped components, storage is pretty straightforward, but you do need to treat it right to preserve that gorgeous texture. The good news? It usually tastes even better the next day because those vanilla and chocolate flavors really have time to settle in and deepen!
You must keep this Dessert for Beginners chilled at all times. Cover your serving dishes tightly with plastic wrap—make sure the wrap isn’t touching the surface of the mousse if you can help it, or you might deflate a bit of the top layer when you remove it. It keeps beautifully in the refrigerator for about 3 to 4 days. Any longer than that, and you risk losing that perfect airiness.
Now, about freezing this Creamy Mousse—I strongly advise against it if you can avoid it. Freezing and then thawing whips up the dairy and egg proteins weirdly. When it thaws, you’ll likely end up with a dense, watery texture instead of the light cloud you made. If you absolutely must save some for later, try to use it within 4 days straight from the fridge. If you’re planning ahead, it’s much easier to just make a half batch later than try to save leftovers from a big dinner party!
If you happen to be looking for something that *does* freeze well, check out my recipe for easy no-bake protein bars—those hold up perfectly in the freezer!
Serving Suggestions for This Decadent Dessert Idea
Now that you have mastered the art of the Easy Mousse Dessert, the final, and arguably second-best, step is figuring out how to dress it up! Remember, even though this is a Simple Dessert Recipe, we want it to feel like an experience. Because the mousse itself is so deeply flavored and rich, you need accompaniments that cut through that intensity slightly or enhance the dark chocolate notes without overpowering them.
When I serve this at a dinner party, I always treat the topping presentation like the final flourish of a painting. Presentation is everything for an Elegant Sweet Treat!
The Perfect Fruit Pairing
You cannot go wrong with fresh fruit, especially berries. The slight tartness is the perfect counterbalance to the smooth, sweet fat of the mousse. Fresh raspberries are my absolute go-to; they look stunning against the dark brown backdrop and give you that little burst of acidity.
If you want something a little different, consider sliced, slightly macerated strawberries—meaning I just let them sit in a tablespoon of sugar for about 15 minutes before serving. Or, if you’re feeling ambitious and want a full dessert spread, you could whip up the topping for my easy berry cobbler recipe and spoon a tiny bit of the warm, spiced topping over the chilled mousse. Wow factor achieved!
Beverage and Liqueur Pairings
For an excellent adult pairing, think about what complements dark chocolate. A strong, hot cup of black coffee or an espresso is naturally wonderful. It really brings out the subtle bitterness in the high-quality chocolate we used.
If you want to make it extra special, a drizzle of quality liqueur is divine. A tiny splash of Grand Marnier (that orange liqueur) adds a high note that cuts the richness beautifully. A dark spiced rum or even a little bit of Kahlúa works wonders too. Just drop about half a teaspoon right on top before serving—it mixes right into the top layer of that Creamy Mousse beautifully.
Finishing Touches for an Indulgent Chocolate Experience
Sometimes simple is best! If you want to keep the focus entirely on the texture, skip the fruit and go for texture contrasts. A few dark chocolate shavings made with a vegetable peeler look very professional. Or, take a page from the notes and just dust the top lightly with good quality unsweetened cocoa powder—it creates a beautiful matte finish that contrasts the interior glossiness.
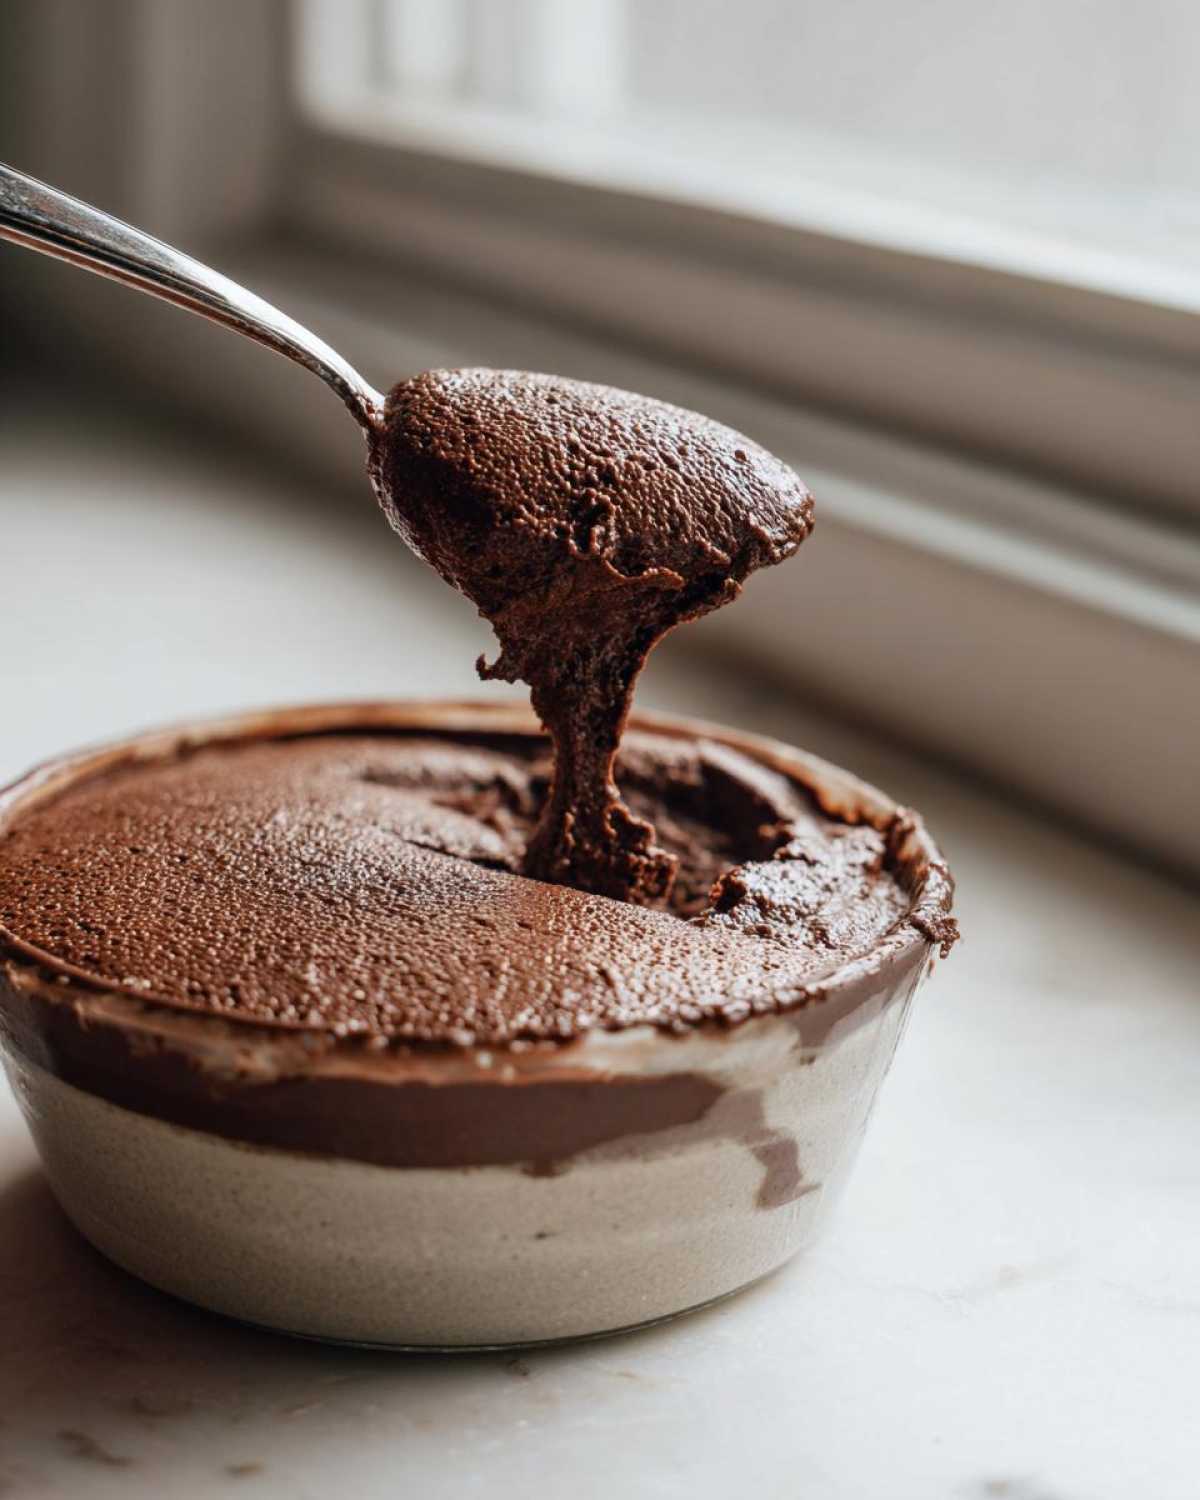
If you like crunch, try crushed, toasted hazelnuts or pecans placed around the rim of the serving dish. Just make sure whatever you add, you don’t overdo it. This Homemade Chocolate Mousse is supposed to be an airy dream, so we don’t want big chunks overwhelming that lovely, delicate structure we worked so hard to create!
Frequently Asked Questions About Chocolate Mousse Recipe
When you’re trying to nail a classic like this, I always get the same handful of questions! It’s totally normal, because getting that perfect texture—that dreamy, airy, Creamy Mousse—can feel a little intimidating. But don’t sweat it! You asked some great questions about texture and ingredients, so let’s dive into making sure your next batch is the absolute best Easy Mousse Dessert you’ve ever made.
Can I skip the raw eggs in this chocolate mousse recipe?
This is such an important question, and I totally get the concern about using raw eggs! For this specific French Mousse Recipe, the eggs are absolutely vital. The yolks carry the richness and emulsify the melted chocolate base, while the whites are what give us that crucial lift and airy structure. If you skip them, you end up with something much closer to a ganache than a mousse.
If you are uncomfortable using fresh raw eggs, the best workaround is to use high-quality, pasteurized eggs, which you can find in most major grocery stores now. They are safe to use uncooked and will still give you the structure you need for this Silky Smooth Dessert. Just make sure you still follow the technique for folding them in gently!
How do I make this a truly Rich Chocolate Dessert?
If you want to turn this from a really good dessert into something legendary—A truly Rich Chocolate Dessert—it all comes down to one thing: your chocolate! Don’t use standard semi-sweet chips; they have stabilizers that can sometimes make the texture gritty. You need good quality baking bars with at least 60% cacao, as we noted earlier.
But if you want to go deeper, try mixing your 6-ounce requirement. For example, use 4 ounces of 65% bittersweet and 2 ounces of 75% or even 80% dark chocolate. That slight jump in intensity pushes the flavor into that truly decadent gourmet territory. It feels indulgent because it *is* indulgent! Don’t forget high-quality vanilla, too—it makes a bigger difference than you think in deepening that cocoa flavor.
What if my chocolate mousse isn’t silky smooth?
There are usually two main culprits when the texture goes sideways. The first one is temperature shock. If the melted chocolate base is too hot when you whisk in the egg yolks, those yolks scramble a bit, resulting in tiny, slightly grainy bits when you serve it. Remember what I said? Let that chocolate cool until it’s just warm before adding them!
The second reason is overmixing once the air gets involved. If you beat the heavy cream or the egg whites too long, they lose their structure. More critically, if you aggressively fold everything together at the end, you deflate all those pretty air bubbles we just whipped in. When you fold, use that gentle cut-and-lift technique. If you notice it’s not perfectly smooth after you fold the first batch of egg whites in, stop! You are much better off having a few tiny streaks than mixing it aggressively and turning that beautiful Homemade Chocolate Mousse into flat pudding. If you need inspiration for other great pairings, check out my Italian herb and cheese bread recipe—totally different, but also delicious!
Share Your Experience Making This Chocolate Mousse
Okay, now that you have whipped up this incredible, easy-peasy Classic Chocolate Mousse, I really, truly want to know how it turned out for you! Baking is such a social thing, and hearing about your results makes my day. Did it set perfectly? Did your family guess that it was a quick Simple Dessert Recipe?
Head down to the comments section below and leave me a rating—five stars if you’re as obsessed with that velvety texture as I am! I love seeing photos of how you served up your desserts, especially if you added your own little twist to the presentation. Did you decorate it with gold leaf? Did you totally lean into the espresso pairing? Tell me everything!
And hey, if you made any little tweaks—maybe you used 70% chocolate instead of 62%, or you whipped the cream a little longer—share those insights too! That collective knowledge helps everyone conquer their next baking adventure. Don’t forget to save this recipe on your favorite platform so you always have this go-to Decadent Dessert Idea handy for when company shows up unexpectedly.
If you’re looking for another simple treat to keep in your back pocket that’s just as easy as this mousse, you absolutely have to try my honey bran muffins. They are great for busy mornings!
Estimated Nutritional Data for Chocolate Mousse
I always include the nutrition breakdown here just so you know what you’re getting into with this Indulgent Chocolate creation. But please, remember this: these numbers are just estimates based on standard calculations. Ingredient sizes, the *exact* type of chocolate you grab, and even how you measure the cream can make these numbers wobble slightly!
For a single serving of this Creamy Mousse (Yields 4 total), here’s what the label looks like for reference:
- Serving Size: 1 serving
- Calories: 380
- Sugar: 25g
- Sodium: 35mg
- Fat: 28g
- Saturated Fat: 17g
- Protein: 8g
If you’re looking for something comforting that comes together easily but feels totally homey, you should give my creamy old-fashioned rice pudding recipe a try next time you need a sweet fix!
Print
Easy Silky No-Bake Chocolate Mousse
- Total Time: 4 hr 20 min
- Yield: 4 servings
- Diet: Vegetarian
Description
Make a rich, velvety chocolate mousse with minimal effort. This no-bake recipe yields a smooth texture perfect for any occasion.
Ingredients
- 6 ounces high-quality bittersweet chocolate, chopped
- 1 cup heavy whipping cream, divided
- 2 large eggs, separated
- 2 tablespoons granulated sugar
- 1 teaspoon vanilla extract
Instructions
- Place the chopped chocolate in a heatproof bowl. Heat half of the heavy cream (1/2 cup) in a small saucepan until it just simmers. Pour the hot cream over the chocolate. Let it sit for 2 minutes, then whisk until completely smooth. Set aside to cool slightly.
- In a separate clean bowl, beat the egg yolks with the sugar until the mixture is pale yellow and thick. Whisk the cooled chocolate mixture into the egg yolk mixture until fully combined. Stir in the vanilla extract.
- In another clean, chilled bowl, beat the remaining 1/2 cup of heavy cream until soft peaks form. Gently fold the whipped cream into the chocolate mixture until just combined. Do not overmix.
- In a third clean bowl, beat the egg whites until stiff peaks form. Gently fold the beaten egg whites into the chocolate base in two additions, taking care to keep the mixture light and airy.
- Spoon the mousse into individual serving dishes or one large bowl. Chill in the refrigerator for at least 4 hours, or until firm.
Notes
- Use chocolate with at least 60% cacao content for the best rich flavor.
- For an extra elegant presentation, top with fresh raspberries or a dusting of cocoa powder before serving.
- Ensure your bowl and whisk attachments are completely clean and grease-free when whipping the egg whites for maximum volume.
- Prep Time: 20 min
- Cook Time: 0 min
- Category: Dessert
- Method: No-Bake
- Cuisine: French
Nutrition
- Serving Size: 1 serving
- Calories: 380
- Sugar: 25
- Sodium: 35
- Fat: 28
- Saturated Fat: 17
- Unsaturated Fat: 11
- Trans Fat: 0.5
- Carbohydrates: 30
- Fiber: 3
- Protein: 8
- Cholesterol: 140