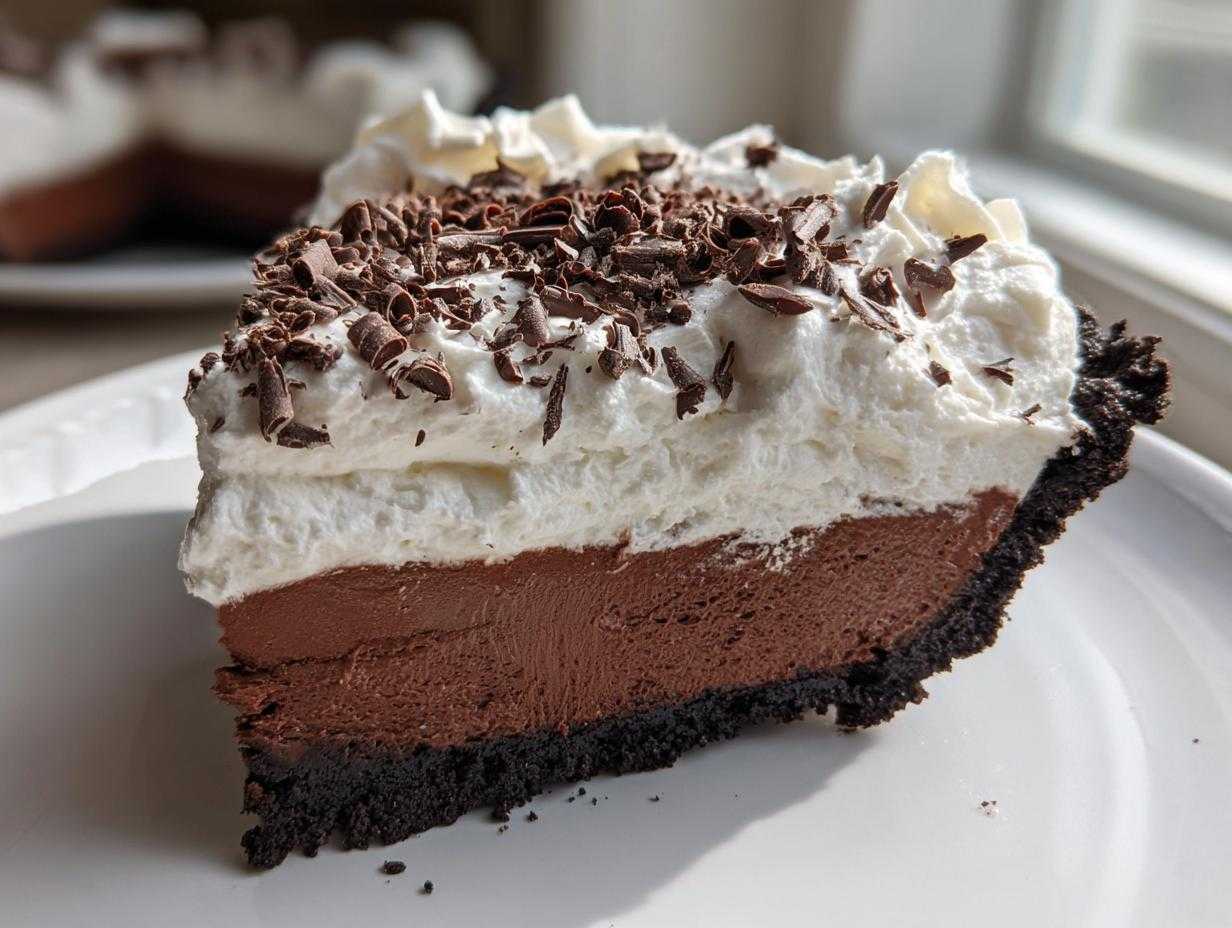
Oh, if you’re anything like me, sometimes you just need a dessert that is intensely, unapologetically chocolatey. Forget light and airy! We’re talking about something rich, something that feels like a vacation for your tastebuds. That’s where this recipe comes in. This is, hands down, the ultimate, decadent Mississippi Mud Pie you will ever make. I’m so excited to share this with you because this specific mud pie recipe has been a guaranteed crowd-pleaser at every single gathering my family has hosted for years now.
The absolute best part? It’s completely no bake! You get all that amazing layered texture and deep chocolate flavor without ever needing to turn on the oven. Seriously, trust me on this one; it’s the easiest, most show-stopping mud pie flavor bomb you’ll ever whip together.
Why This Mississippi Mud Pie Recipe is Your New Favorite (Experience & Trust)
I know you see a lot of recipes out there, but this one truly stands out, and I can promise you that from experience. I first brought a Mississippi Mud Pie to a huge neighborhood potluck, and people were practically fighting over the last slice—no exaggeration!
Here is exactly why this specific version has earned its permanent spot on my family favorite list:
- It’s Pure Decadence: We’re talking layers upon layers of rich, deep chocolate flavor. This isn’t just *a* chocolate pie; it’s *the* chocolate pie dessert you dream about.
- No-Bake Convenience: Total time says 4 hours, but that’s mostly chilling! You mix, press, fold, and wait. It’s perfect for those hectic weekends when you want an easy ultimate dessert without dirtying a thousand dishes.
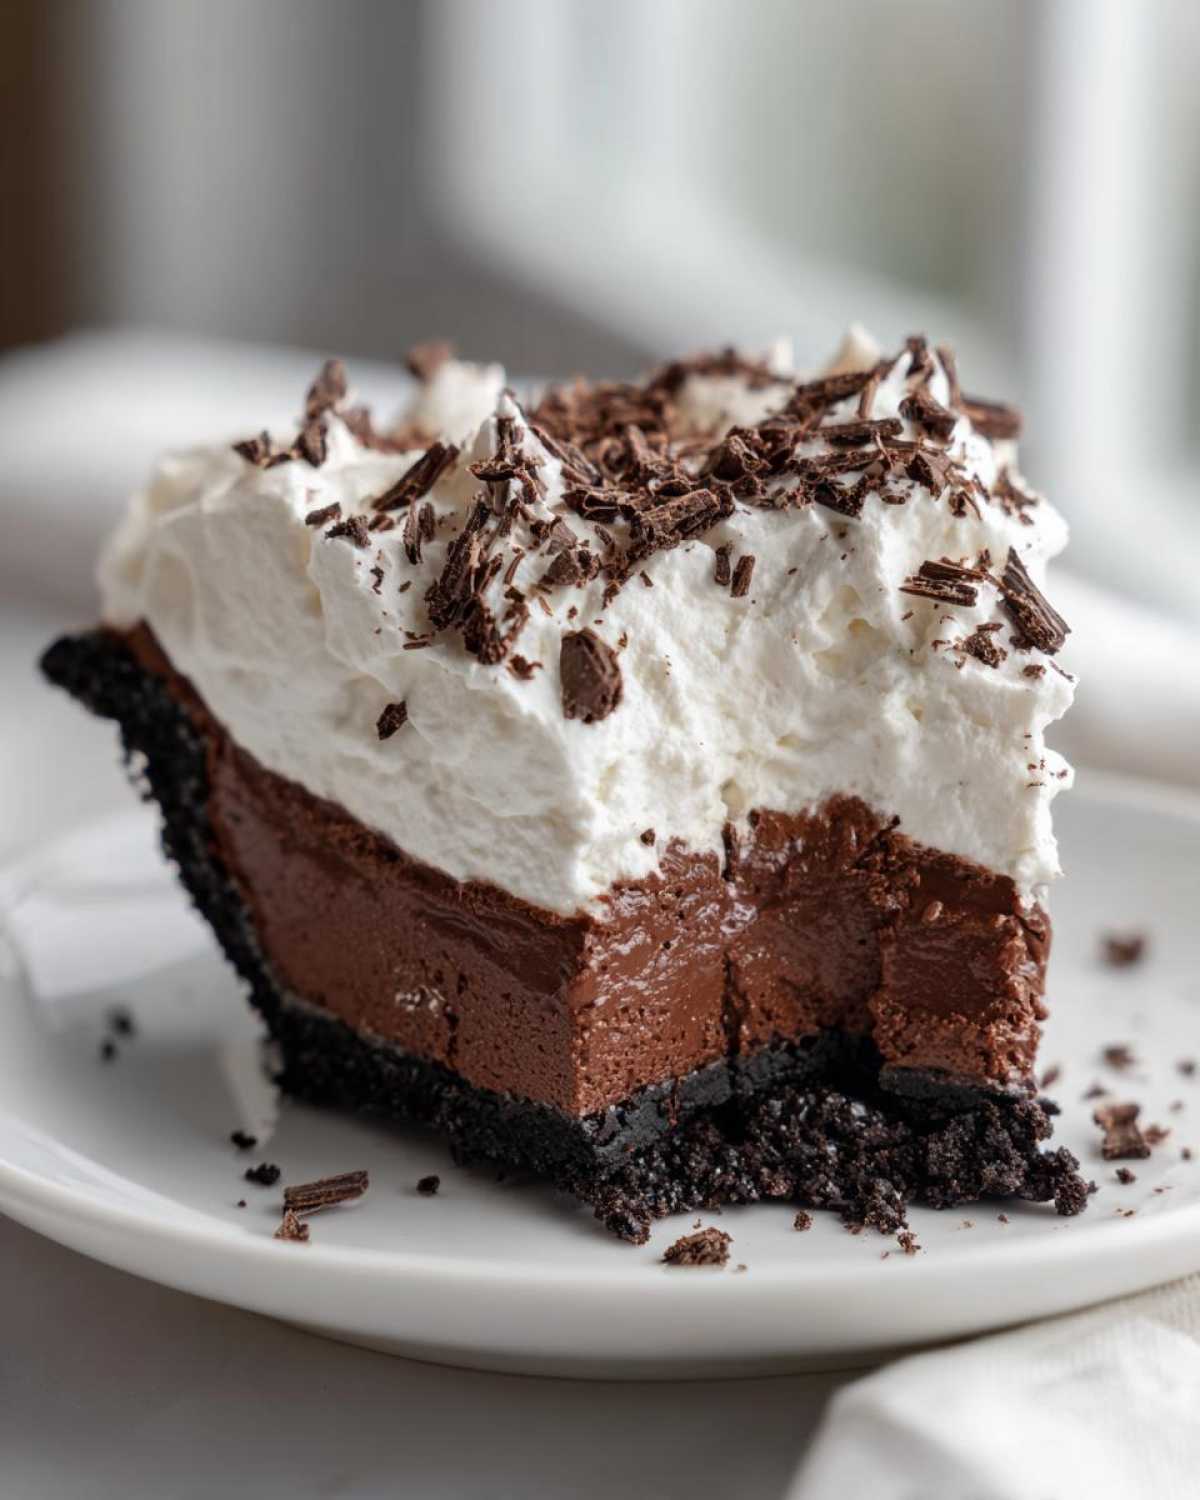
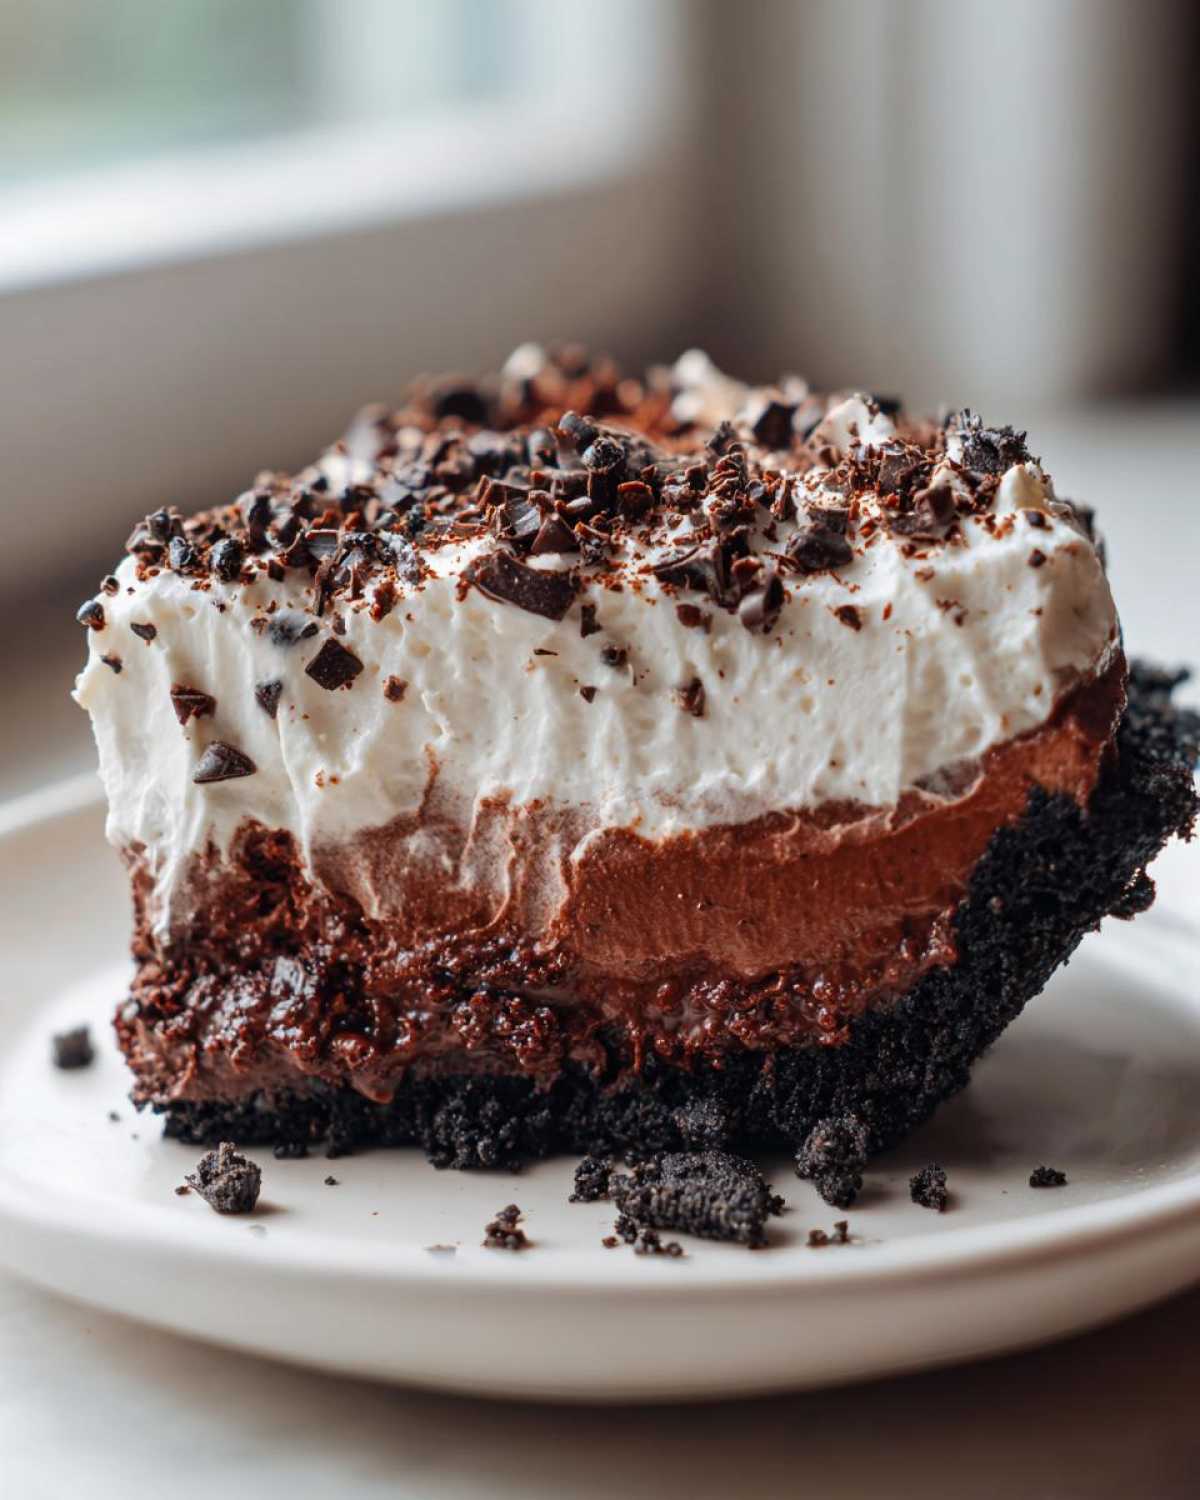
- Texture Heaven: You get that satisfying crunch from the crust, followed by the silkiest, creamiest chocolate filling you can imagine. It really is a fantastic layered chocolate dessert experience.
You simply won’t find a better, easier, or richer mud pie anywhere else, trust me!
Gathering Ingredients for Your Decadent Mud Pie Dessert
Okay, let’s talk about getting those ingredients together! Since this is a no bake mud pie, the quality of what you put in really shines through. We need to make sure everything is prepped correctly because there’s no baking to hide flavor mishaps later!
First up is your structure—the crust. You’ll need one and a half cups of chocolate wafer crumbs, mixed with a half cup of melted butter. If you want to go the *Oreo Crust Dessert* route, feel free to swap those wafers for classic Oreos, crumbs and all! Remember to have that 9-inch pie plate ready to go.
For that unbelievably creamy chocolate pie filling, here’s what you’ll grab:
- One package (8 ounces) of cream cheese, and this needs to be softened—take it out early!
- One cup of powdered sugar, sifted if you’re a purist, but I usually just make sure it’s not clumpy.
- A half cup of milk to help smooth out the cream cheese base.
- One package (3.9 ounces) of instant chocolate pudding mix. Don’t worry, we’re not making baked pudding here!
- Two cups of ice-cold milk dedicated just to whipping up that pudding thicker.
- One full container (8 ounces) of frozen whipped topping, thawed, which acts as our binder and lightener.
Finally, for that signature crunch, we’re topping it with pecans, a half cup chopped if you like them, and some lovely chocolate shavings for garnish. These elements together create the perfect, rich chocolate pudding pie. If you’re looking for ideas on sweet toppings in general, I found some amazing tips over at caramelized onions ultimate guide sweet topping that might spark other ideas for your dessert table!
Step-by-Step Instructions for the Best Mud Pie
Alright, buckle up, because this is where the magic happens! Making this incredible mud pie is actually a piece of cake (or, well, pie). Since it’s a no bake recipe, we’re relying on chilling time to set everything up beautifully. Grab your mixing bowls and let’s get this creamy chocolate creation assembled!
Preparing the Oreo Crust Dessert Base
First things first, we need a solid foundation for our pie. Take those chocolate wafer crumbs—or your crushed Oreos for a different twist on that Oreo crust dessert—and pour them into a bowl with the half cup of melted butter. Mix that up until everything looks like wet sand. Press that mixture down firmly and evenly into the bottom and up the sides of your 9-inch pie plate. Don’t be shy here; press it tight! Once it’s looking perfect, pop it into the fridge for about 15 minutes to chill and firm up while we work on the filling. This quick chill keeps the crust from crumbling later!
Creating the Creamy Chocolate Pie Filling
Now for the heart of this rich chocolate pudding pie! In a big bowl, use your electric mixer or a strong whisk to beat that softened cream cheese together with the powdered sugar until it’s completely smooth—no lumps allowed! Then, stir in that small half cup of milk until it’s incorporated. In a totally separate bowl, whisk up your instant chocolate pudding mix with two cups of *ice-cold* milk. You have to whisk this until it gets thick, which usually only takes about two minutes. Then comes the gentle part: fold the thickened pudding gently into the cream cheese mixture. Finally, fold in half of your thawed whipped topping and, if you’re using them, those chopped pecans. Folding keeps things light!
Chilling and Finishing Your Mud Pie
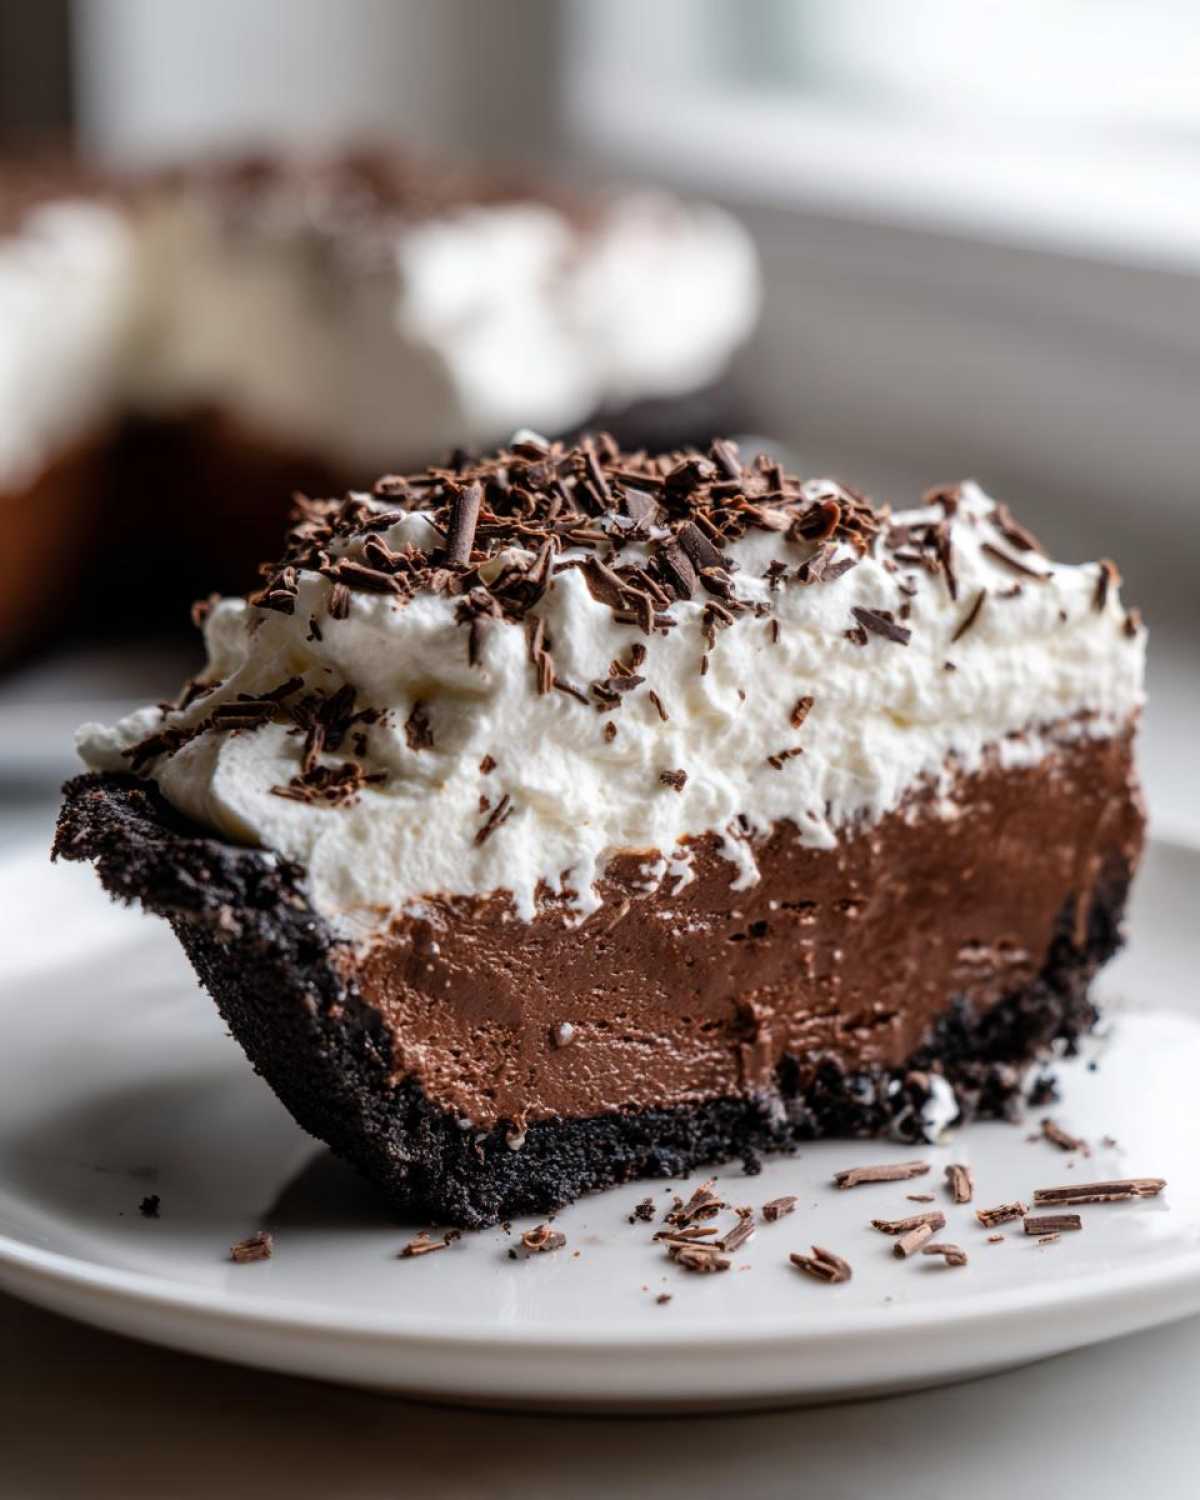
Once your lush, creamy chocolate filling is ready, carefully spread that entire mixture evenly over that chilled crust we made earlier. It should look beautiful and ready for its nap! You absolutely must refrigerate this no bake mud pie for a minimum of four hours. I usually aim for six just to be safe, but four hours is the minimum required time to get it firm enough to slice. Once it’s rock solid, gently spread the remaining half of the whipped topping over the top. Then, just before you serve your showstopper dessert, sprinkle those chocolate shavings on top. Seriously, look at that masterpiece!
If you’re looking for other simple assembly jobs that deliver big flavor, you might enjoy checking out my guide to easy no-bake protein bars recipe—it uses similar quick-mix techniques!
Tips for a Perfect Southern Dessert Recipes Mississippi Mud Pie
Even though this mud pie is blessedly simple because it doesn’t require baking, there are still a few little secrets I’ve picked up over the years to make sure it comes out looking and tasting absolutely professional every single time. You want that creamy texture to shine, right?
Here are my must-know tricks to guarantee you get the best layer texture for this beautiful southern dessert recipe:
Make Sure That Cream Cheese Is Ready to Go!
My number one texture tip concerns the cream cheese. If it’s even slightly cold when you go to mix it with the powdered sugar, you’re going to end up with little white lumps that just won’t dissolve into the filling. I always set my cream cheese out for at least two hours before I plan to start mixing. If I forget, I cut it into small cubes and let it sit on a warm plate for about 30 minutes. Softness is the key to smooth sailing here!
Handle That Whipped Topping Like Fine Crystal
When you take half of that container of frozen whipped topping to fold in, you have to be gentle. If you stir vigorously, you’ll knock all the gorgeous air out of it, and the filling will become dense instead of light and fluffy. I use a rubber spatula and gently cut down the center of the bowl and then sweep up the side, turning the bowl as I go. It’s slow, but it keeps that beautiful volume locked in place, which is crucial for a creamy chocolate pie.
The Chilling Time is Non-Negotiable
The recipe says four hours, and you should listen! But honestly, if you want a firmer slice that holds up perfectly when you move it from kitchen to table, go for six hours, or even overnight if you can manage it. A firmer pie is much easier to slice cleanly, especially on a hot day. If you’re using a thinner pie plate, you might even want to use a little less milk in the pudding mixture just to help it stabilize faster. Don’t forget to check out my recipe for best sour cream coffee cake streusel recipe if you ever decide you want a baked crumb topping next time!

Variations: Frozen Mud Pie and Other Decadent Dessert Ideas
Now, I know this Mississippi Mud Pie is amazing just the way it is—a perfect no bake summer treat—but the fun of a great recipe is definitely in the customizations! I always get asked if you can turn this into something colder, or how to shake up the crust. Absolutely, you can!
The most popular request I get is transforming this into a true Frozen Mud Pie. If you want an ice cream cake recipe situation here, it’s super simple. Once you spread that creamy chocolate filling over your chilled crust (go ahead and use those pecans in there!), you just pop it into the freezer instead of the fridge. Freeze it solid for about four hours. Instead of topping it with whipped cream, you can top it with softened store-bought ice cream—vanilla or even coffee flavor works like a dream! Then, freeze it again until it’s fully set and sliceable.
If you’re looking for a different foundation for your mud pie, don’t feel locked into chocolate wafers! Graham cracker crumbs are fantastic if you want a slightly less intense chocolate experience. You just mix them the exact same way with the melted butter and chill them down. Or, if you’re feeling brave, a shortbread cookie crust gives the whole dessert a rich, almost buttery texture that contrasts beautifully with the filling.
For those who want to play with the filling flavor itself, remember those notes I mentioned earlier? Instead of the instant chocolate pudding, you can use vanilla pudding mix and whisk in about two tablespoons of good quality cocoa powder. It creates an interesting, lighter chocolate flavor that still hits the spot, just in case you’re not in the mood for ultra-rich chocolate pudding pie!
If you’re interested in making other frozen treats for those hot days, I have a great recipe for frozen hot chocolate recipe that’s surprisingly easy to pull together!
Storage and Serving Suggestions for Your Showstopper Dessert
Now that you’ve created this incredible, creamy chocolate pie, you need to know how to keep it perfect for leftovers—if you even have any left! Since this is a rich chocolate dessert that relies on that chilled filling to stay set, storage is pretty straightforward, but you have to be careful to keep it fresh.
The best way to store any leftovers of your mud pie is to keep it chilled, naturally. Once you cut a slice, cover the remaining pie tightly with plastic wrap or seal it in an airtight container. This is important to keep it from absorbing any fridge smells, which can totally ruin those beautiful chocolate notes. It stays wonderfully good in the refrigerator for up to three to four days. I wouldn’t recommend freezing the pie once it’s topped with whipped cream, as the topping gets a weird texture when thawed.
When it comes to the best serving temperature, I find that this pie is absolutely divine when served straight from the fridge—nice and cold! If it sits out on a warm counter for too long, it gets a little sloshy because of the pudding and cream cheese base. You want that delightful slight firmness when you cut into it.
What do I love to pair with a slice of this decadent mud pie? Oh, it has to be a strong, hot cup of black coffee. The bitter warmth cuts through the richness of the sweet, creamy layers so perfectly. It’s just the perfect balance, sort of like having a scoop of cold ice cream with hot coffee, but way easier! For other great coffee-time pairing ideas, you should really peek at my recipe for coffee cake—it’s another family favorite!
Frequently Asked Questions About Making Mud Pie
I always get so many great questions about this mud pie, especially since it’s no-bake and relies on chilling! It’s totally normal to have a few doubts when you’re trying to get a layered dessert just right. Here are some of the things I hear most often from other bakers trying out this recipe.
Can I make this No Bake Mud Pie ahead of time?
Oh, yes, you absolutely can! In fact, I think making it a day ahead is actually the best way to go. The longer it sits in the fridge, the firmer the layers get, and the more those incredible chocolatey flavors meld together. You can mix and chill the entire pie up to two days before serving it. The only thing I really suggest waiting until right before serving is that final topping of whipped cream and chocolate shavings. If you put that whipped topping on too early—say, more than 12 hours in advance—it can sometimes start to weep a little from the moisture in the filling.
What is the best alternative to chocolate wafer crumbs for the crust?
That crust is just the start of the fun! If you don’t have chocolate wafers on hand, you have a couple of fantastic choices, especially if you’re aiming for something like an Oreo Crust Dessert. My go-to substitute is using the cookies themselves—just toss those Oreos (filling and all!) into your food processor until they’re crumbs. That gives you a slightly different texture but still that dark chocolate base. Another great option, though it changes the flavor profile, is using graham cracker crumbs. You just need to add a little extra sugar—maybe two tablespoons—because graham crackers aren’t as sweet as the chocolate wafers naturally are.
My Rich Chocolate Pudding Pie filling did not set firmly. Why?
This is so frustrating when it happens! Usually, when your rich chocolate pudding pie filling doesn’t set up nice and firm, it comes down to two main things. First, you might not have used milk cold enough when whisking the instant pudding mix. Instant pudding relies on that cold dairy to bloom quickly and thicken properly. If the milk was lukewarm, it won’t set up right. Second, and this is common, you might have under-chilled it. Don’t rush that four-hour minimum! If your kitchen is warm, you may even need five or six hours for the filling to become truly sliceable. A little patience goes a long way with a no-bake recipe like this!
If you’re looking for other simple dessert ideas that set up nicely in the fridge, you might want to check out my recipe for easy berry cobbler recipe with biscuit topping—it’s completely different but just as satisfying!
Nutritional Estimates for This Creamy Chocolate Pie
Now, I know when we’re making a decadent dessert like this classic mud pie, we aren’t exactly sitting down with a ruler and calculator, right? We’re here for the pure, glorious chocolate hit! But in the interest of being transparent, I wanted to share the estimates I pulled together based on the ingredients list for one single slice of this creamy chocolate pie.
Just remember, these numbers are based on using standard grocery versions of the pudding, cream cheese, and whipped topping. If you go heavy on the pecans or use extra-rich chocolate wafers, your numbers will naturally shift a bit! These estimates help us understand what’s going into our delicious, rich chocolate pudding pie.
Here are the rough estimated values per serving:
- Serving Size: 1 slice
- Calories: 450
- Sugar: 35g (Yes, it’s a treat!)
- Fat: 28g (Hello, butter and cream cheese!)
- Saturated Fat: 15g
- Carbohydrates: 45g
- Protein: 5g
- Sodium: 320mg
See? It’s definitely a showstopper dessert meant for special occasions! But wow, is it worth every single calorie when you get that perfect layered combination of crust and filling. Don’t let the numbers scare you away from enjoying this family favorite pie!
Share Your Ultimate Dessert Experience
Okay, now that you’ve conquered this amazing Mississippi Mud Pie and probably had to fight off eager family members waiting for the first slice, I really, really want to hear from you!
Did you take the plunge and use the Oreo crust? Did you manage to wait the full six hours before slicing into that creamy chocolate pie? Don’t keep those delicious details to yourself!
Head down to the comments section below and let me know how this mud pie recipe turned out for you. I absolutely love seeing your creations! If you snapped a picture of your showstopper dessert—maybe topped with extra mounds of whipped cream—please share it on social media and tag me so I can oooh and aaah over your perfect slices. Connecting with you while we bake is truly the best part of doing this!
If you are already thinking about what other crowd-pleasing treats you can bake next, you should definitely check out some tips for my absolute favorite cookies! You can find the secrets to the best soft chewy chocolate chip cookies right here on the site. Happy baking, everyone!
Print
Classic Mississippi Mud Pie
- Total Time: 4 hr 25 min
- Yield: 8 servings
- Diet: Vegetarian
Description
A rich, layered, no-bake chocolate pie featuring a cookie crust, creamy chocolate filling, and whipped topping.
Ingredients
- 1 1/2 cups chocolate wafer crumbs
- 1/2 cup melted butter
- 1 package (8 ounces) cream cheese, softened
- 1 cup powdered sugar
- 1/2 cup milk
- 1 package (3.9 ounces) instant chocolate pudding mix
- 2 cups cold milk
- 1 container (8 ounces) frozen whipped topping, thawed
- 1/2 cup chopped pecans (optional)
- Chocolate shavings for garnish
Instructions
- Combine chocolate wafer crumbs and melted butter. Press mixture firmly into the bottom and up the sides of a 9-inch pie plate. Chill for 15 minutes.
- In a large bowl, beat the softened cream cheese and powdered sugar until smooth. Add 1/2 cup milk and mix well.
- In a separate bowl, whisk the instant chocolate pudding mix with 2 cups of cold milk until thickened, about 2 minutes.
- Gently fold the pudding mixture into the cream cheese mixture.
- Fold in half of the thawed whipped topping and the chopped pecans, if using.
- Spread the chocolate filling evenly over the chilled crust.
- Refrigerate for at least 4 hours, or until firm.
- Before serving, spread the remaining whipped topping over the pie. Garnish with chocolate shavings.
Notes
- Use Oreo cookie crumbs instead of chocolate wafers for a different crust flavor.
- For a frozen version, freeze the pie for 4 hours after spreading the filling, then top with ice cream instead of whipped topping.
- You can substitute instant vanilla pudding mix and add 2 tablespoons of cocoa powder for a lighter chocolate flavor.
- Prep Time: 25 min
- Cook Time: 0 min
- Category: Dessert
- Method: No Bake
- Cuisine: American
Nutrition
- Serving Size: 1 slice
- Calories: 450
- Sugar: 35
- Sodium: 320
- Fat: 28
- Saturated Fat: 15
- Unsaturated Fat: 13
- Trans Fat: 0.5
- Carbohydrates: 45
- Fiber: 2
- Protein: 5
- Cholesterol: 55