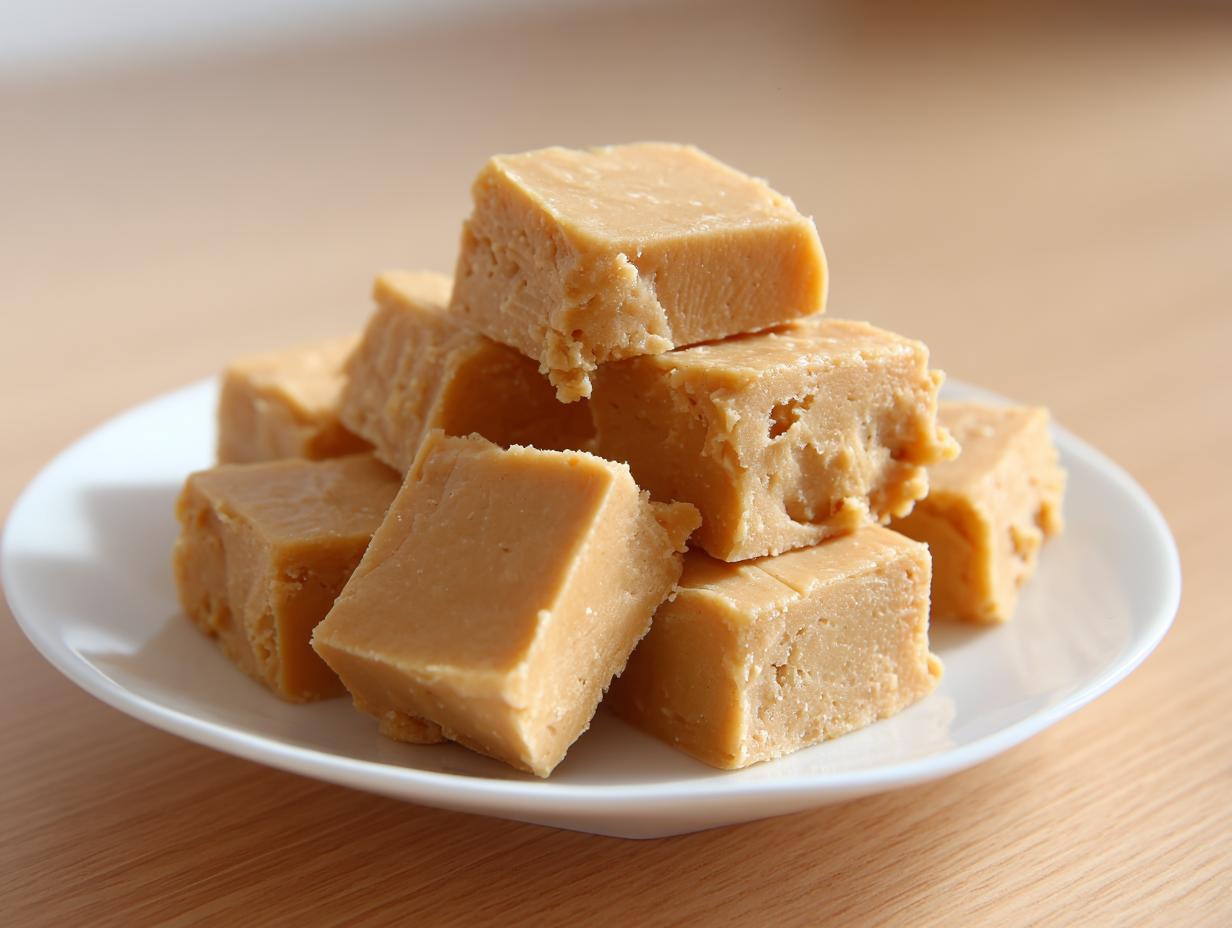
Oh my gosh, you are holding the key to instant, pure craving satisfaction right here! Seriously, if you can melt some stuff and stir, you can master this. Forget complicated candy-making where you need a thermometer and surgical precision. This is the easiest 3-ingredient, no-bake peanut butter fudge recipe you will ever make, and I’m not kidding when I say it’s revolutionary.
I stumbled upon this version years ago right before Christmas Eve dinner because I realized I forgot to make the classic cranberry relish, and you absolutely need something sweet for the table! Panic mode set in, but thank goodness for this foolproof method. It took me maybe five minutes of actual work before I tucked it into the fridge. It sets up perfectly smooth and creamy—it truly tastes like old-fashioned candy, just without all the fussy steps. You absolutely have to try making your own homemade peanut butter candy this way!

Why This 3-Ingredient Peanut Butter Fudge is the Best
When people search for homemade candy, what they really want is quick magic that tastes rich, right? That’s exactly what this **peanut butter fudge** delivers. I promise you, this isn’t some runny mess or a grainy disappointment. It’s the standard I hold every other candy recipe up against because it just *works*.
- It sets up firm but somehow manages to be incredibly decadent. You won’t believe just three things make something this good!
- It’s a lifesaver when you need a last-minute gift or the sugar craving hits hard at 9 PM.
- Anyone can make this! This is definitely in my top list of beginner dessert recipes.
Achieving That Melt in Your Mouth Texture
The reason this comes out so velvety smooth, achieving that perfect creamy peanut butter fudge feel, is all down to the specific ratio of fat to sugar powder. Too much peanut butter, and it gets crumbly. Too much sugar, and it gets crumbly! But when you stick to this classic measurement, the fat coats the sugar grains just right. That balance prevents crystallization, which is the main culprit behind graininess in fudge.
Hands-On Time Under 10 Minutes for Easy Peanut Butter Fudge
We aren’t even turning the oven on! This is pure, unadulterated **easy peanut butter fudge**. I timed myself last week—from pulling the ingredients out to shoving the pan in the fridge—and it was under eight minutes. That’s faster than boiling water for coffee! It’s the ultimate quick dessert recipe for when you need something rich, sweet, and satisfying immediately.
Gathering Ingredients for Your Simple 4 Ingredient Fudge
Okay, gathering ingredients for this **peanut butter fudge** is almost comically easy, which is why I call it a ‘simple 4 ingredient fudge’ sometimes—I usually add a sprinkle of salt, oops! But truly, the magic comes from only three core players here. Please don’t rush this part, though; the quality of these basic items makes all the difference in getting that **rich and sweet fudge** texture we’re aiming for. If you’re looking for other great peanut butter bases, check out my recipe for peanut butter cookies!
Here is exactly what you need:
- 1 cup creamy peanut butter
- 1 cup powdered sugar (confectioners’ sugar)
- 1/2 cup (1 stick) unsalted butter, softened
Ingredient Clarity for Perfect Peanut Butter Fudge
Listen up, this is where many people mess up their peanut butter fudge! You absolutely must use standard, shelf-stable, creamy peanut butter. I know natural peanut butter is healthier, but the oil separation in the natural kind is a disaster for this recipe. It throws off the fat-to-sugar ratio, and you end up battling a greasy mess instead of getting that perfectly smooth, melt in your mouth fudge we want. Also, make sure that butter is just softened—leave it on the counter for an hour or so. When I say softened, I mean it should yield easily to a gentle poke, not be melted and greasy!
How to Make No Bake Peanut Butter Fudge Step-by-Step
Alright, time to put your ingredients to work! This is where we transform simple goodness into award-winning peanut butter fudge. Don’t rush the combining steps, especially when adding the sugar. A few minutes of focused mixing here means you get that luxurious, creamy peanut butter fudge instead of a clumpy mess. We are making the base for this dessert in minutes, setting the stage for that perfect, easy chill time. If you need a palate cleanser after all this sweetness, maybe try my zesty easy crunchy cabbage salad later!
Preparation: Lining the Pan for Easy Peanut Butter Fudge Removal
Before anything touches a bowl, grab the 8×8 pan. I line mine with parchment paper, making sure the paper hangs over two of the sides like little handles. Trust me on this! When the fudge is solid and ready to slice, you can just grab those paper handles and lift the whole block right out of the pan. That parchment has saved me tears more times than I can count when I’m making no bake peanut butter fudge for gifting.
Melting and Mixing the Base for Creamy Peanut Butter Fudge
This is the fastest part, but watch your microwave time carefully! Combine your peanut butter and the softened butter in a microwave-safe bowl. Zap it on medium power—don’t go full blast, or you risk scorching the peanut butter and losing that sweet flavor. Aim for 30 to 45 seconds; you just want it loose enough to stir easily into a smooth blend. If you’re scared of the microwave, you can do this gently in a saucepan over very low heat, stirring constantly until it is just melted together.
Incorporating Sugar and Pressing the Quick Dessert Recipes Mixture
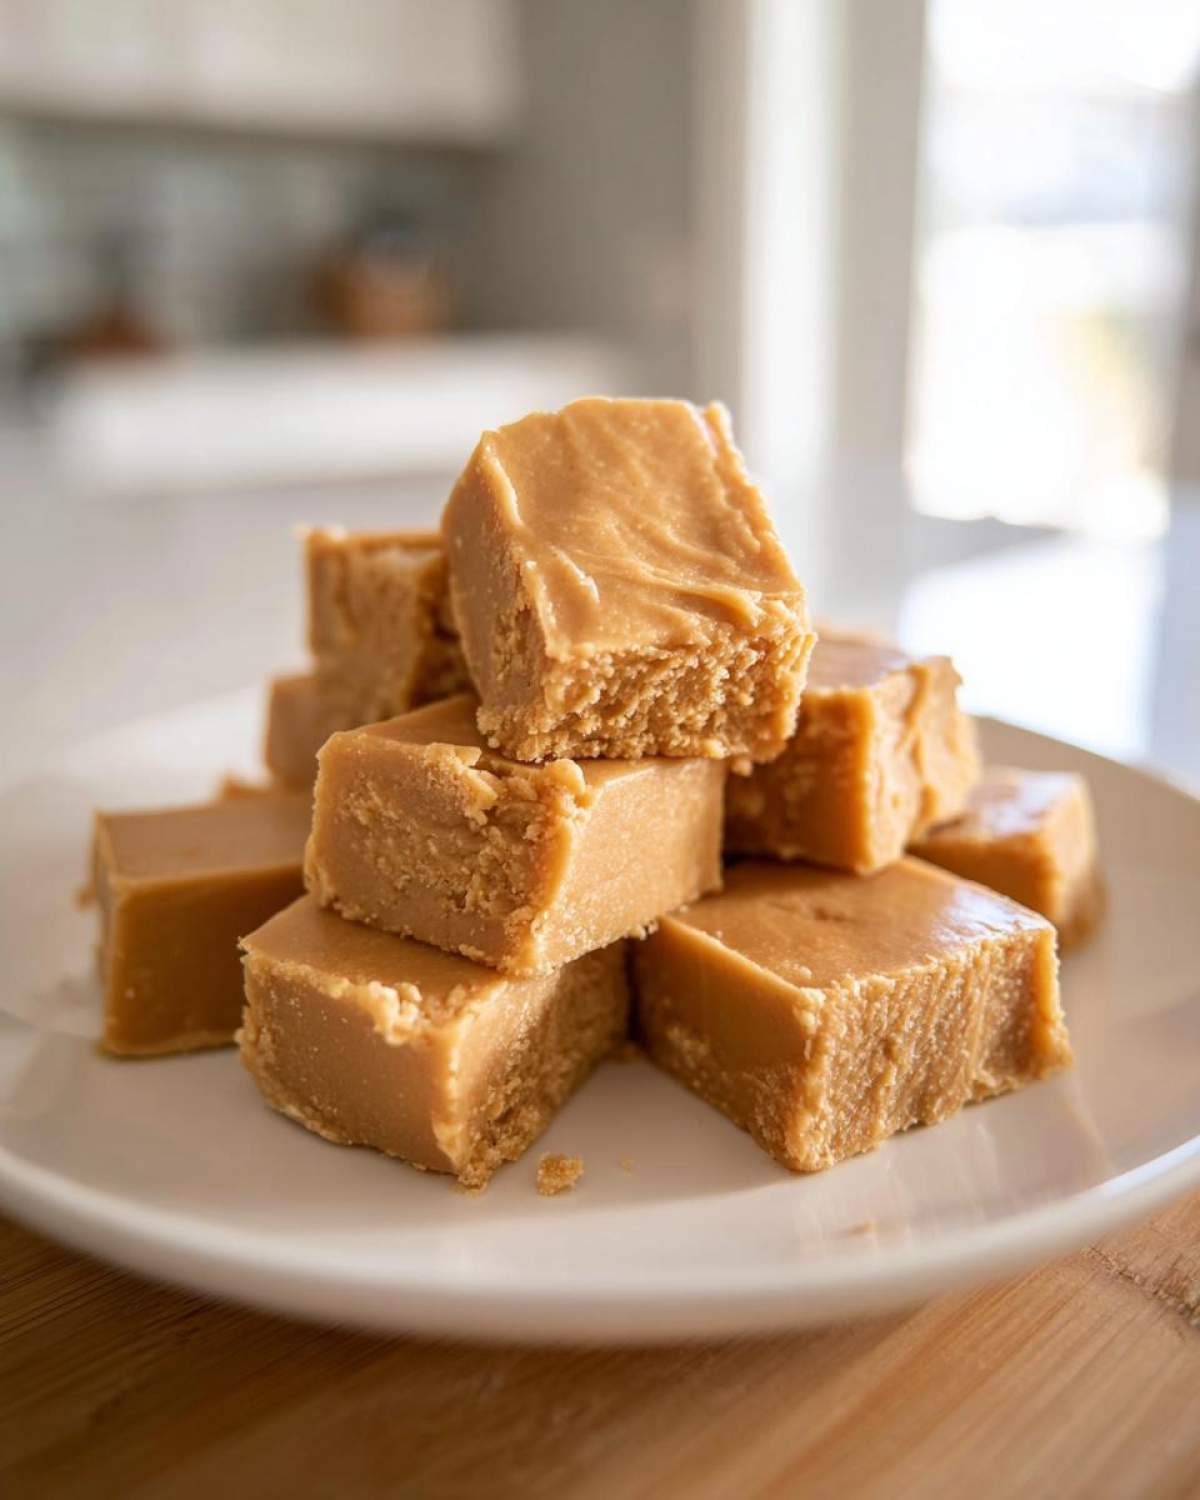
Now, gently introduce that cup of powdered sugar. You have to add it little by little while stirring constantly. If you dump it all in at once, you get air pockets, and suddenly your beautiful smooth base turns into something a bit grainy. Keep stirring until it all comes together into a truly thick dough. After that, just press that gorgeous mixture evenly into your prepared pan. Smooth the top with a spatula—this guarantees those professional-looking squares. Then, cover it and let the fridge do the rest of the work for at least two hours!
Tips for Success with Your Homemade Peanut Butter Candy
Making peanut butter fudge that melts in your mouth perfectly relies on a few small but mighty pointers. Listen, I’ve made this recipe when I was half-asleep, and I’ve made it while rushing to get a gift ready for a bake sale. Even when I rush, this recipe usually forgives me, but if you want the absolute best, silkiest texture, you need to keep these few things in mind. You won’t have to worry about that horrible grainy texture that ruins homemade candy! If you need more inspiration for delicious treats to pair these fudge squares with, you should definitely check out my favorite peanut butter cookies recipe too.
Troubleshooting Grainy Peanut Butter Fudge
The most common enemy of delicious fudge is graininess, which happens when the sugar crystals don’t dissolve or mix properly into the fat. Because this is a no-bake recipe, we rely heavily on getting the mixing right when we add the powdered sugar. If you over-mix once the powdered sugar is incorporated, you can sometimes force the mixture too stiff, which can lead to a slightly less smooth finish later on. My advice is to stop stirring the second you no longer see any white streaks of sugar. If you’re using room-temperature butter, as I always instruct, the ingredients blend like a dream, keeping those crystals tiny and hidden!
Setting and Cutting Your Easy Peanut Butter Fudge
Patience is a virtue, especially when you’re dealing with quick desserts! You absolutely must let this firm up for the full time stated in the notes—that’s a minimum of two hours in the refrigerator because this particular easy peanut butter fudge doesn’t have any stabilizers like evaporated milk to help it set fast. If you try to cut it after 90 minutes, you’ll just get a sticky, messy slab. Once it’s fully chilled, the best trick for clean slices is to warm up a large knife blade under hot water, wipe it completely dry, and then slice quickly. Wiping the blade clean between cuts ensures every piece is picture-perfect!
Variations: Customizing Your Classic Candy Recipes
The thing I love most about this **peanut butter fudge** base recipe is how versatile it is! It’s so wonderfully simple, which means it’s the perfect canvas for a little creativity without turning into a huge project. You are already making the best, most reliable creamy peanut butter fudge possible, so why not spice things up a little bit for holidays or just because you feel like it?
I always keep a few simple mix-in ideas tucked away for when I make a big batch. If you’re getting ready to bake a beautiful red velvet cake, you can use the same flavor inspiration in your fudge!
- The Salted Kick: This is my favorite way to elevate the richness! Before you press the mixture into the pan, sprinkle about half a teaspoon of flaky sea salt right over the top. The salt crystals pop against the sweet, creamy fudge—it’s amazing.
- Chocolate Swirl: If you want that classic movie theater candy feel, melt about 1/4 cup of semi-sweet or milk chocolate chips. Once your fudge is pressed into the pan and smoothed, drizzle the melted chocolate over the top in ribbons. Then, take a toothpick or skewer and gently swirl it through for a gorgeous marbled effect before chilling.
- Extra Crunch: If you want to move away from the ultra-smooth texture just a tiny bit, fold in about 1/4 cup of mini chocolate chips or chopped peanuts right before you press the mixture into the pan. Just make sure you fold gently so you don’t deflate the air you worked so hard to keep in there!
- Peanut Butter Cups Style: For a real treat, press half of the fudge mixture into the lined pan, freeze for 30 minutes, then layer a thin layer of melted peanut butter cups or plain melted chocolate on top. Then, cover that with the remaining fudge mixture! It’s decadent, but oh so worth the extra step.
Storage and Reheating Instructions for Peanut Butter Fudge
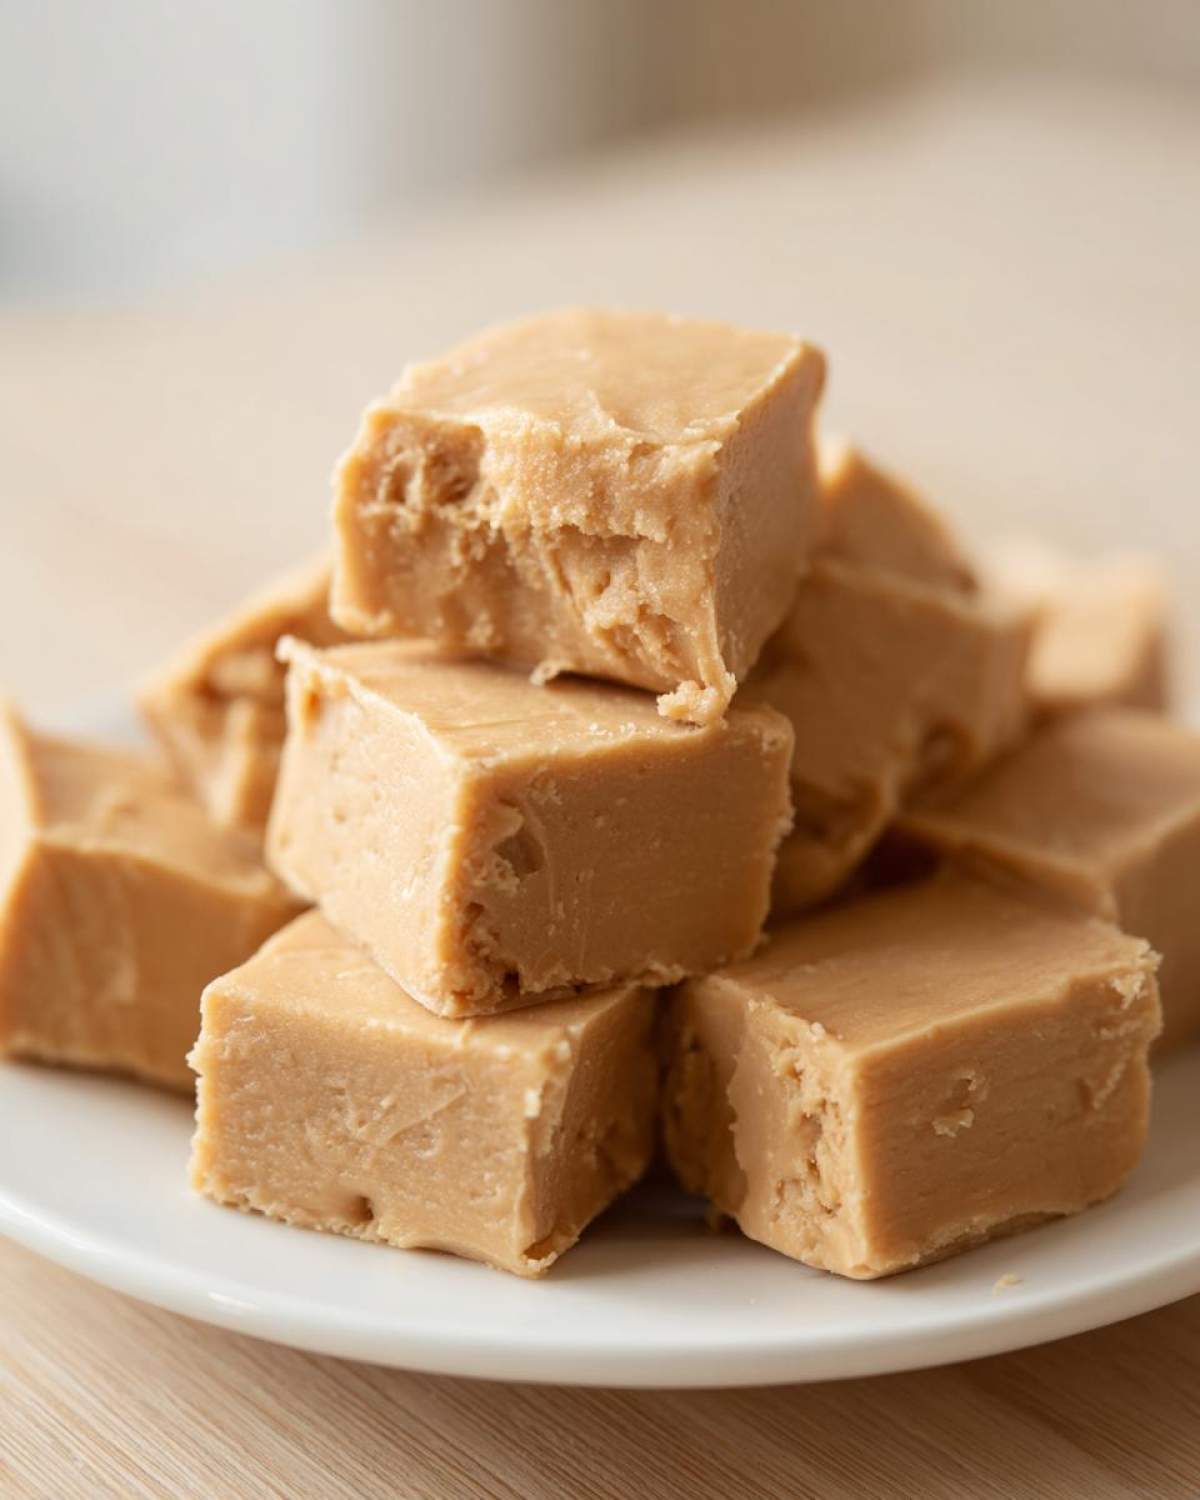
Now that you’ve made the most amazing **peanut butter fudge** known to humankind, the next big question is: How do I keep it perfect? One of the greatest things about this quick recipe is that it stores beautifully! Because it contains only butter and peanut butter as its main fats, it keeps its fantastic texture without turning dry or weird, unlike some baked goods.
The recipe notes mentioned storage, and I want to reiterate just how simple this is. You should absolutely store your finished, cut squares in an airtight container. If you stack them, just put a small square of wax paper or parchment between the layers. This prevents them from sticking back together, especially if things get slightly warm.
If you keep them refrigerated, this **peanut butter fudge** will easily last up to one week. Honestly, they usually never last that long in my house! The cold temperature keeps the butter firm, maintaining that perfect, decadent chewiness. I’ve never tried to “reheat” this fudge since it’s best served chilled or at cool room temperature, but if your kitchen is scorching hot and it gets soft, just pop it back in the fridge for 15 minutes to firm up again. That’s all the fuss required for this incredible **homemade peanut butter candy**!
Frequently Asked Questions About Making Peanut Butter Fudge
I get so many messages about this recipe—it’s clearly a favorite! People always have great questions, especially when dealing with no bake peanut butter fudge because it’s easy to think something this simple might have a hidden trick. Here are the few things I hear most often about getting that rich, perfect texture every single time, whether you’re baking for the holidays or just need a quick fix! If you’re curious about recipes using other thickeners, you might want to check out my other guide on the condensed milk fudge recipe!
Can I use natural peanut butter in this no bake peanut butter fudge?
Oh, that’s the big one! Please, for the sake of getting that ultra-smooth, creamy peanut butter fudge texture, stick to the standard, shelf-stable peanut butter. Natural peanut butter has too much loose oil. If you try to use it, you’ll find the mixture separates when you add the sugar, and you’ll need to add way more powdered sugar just to get it thick enough to press. It usually ends up drier and just doesn’t have the same melt-in-your-mouth quality. It’s just not worth the struggle!
How long does this homemade peanut butter candy last?
Because this recipe is so straightforward and relies on fat content rather than delicate dairy like cream, this homemade peanut butter candy lasts ages! Truly, keep it stored in an airtight container in the refrigerator, and it stays perfect for a full week. Sometimes I think it tastes even better on day three! Just make sure it doesn’t get too warm sitting out on the counter, or it might start to get a little soft around the edges.
Can I skip the butter in this quick dessert recipe?
You really, really shouldn’t skip the butter in this **quick dessert recipe**. I know some recipes try to pull off using only peanut butter, but that’s where you lose the richness! The butter is absolutely crucial because it adds a different kind of fat content that helps coat those sugar particles, guaranteeing that smooth, non-grainy feel. If you skip it, you’re just going to end up with a stiff, dense block of sweetened peanut butter, not true fudge.
Estimated Nutritional Data for This Recipe
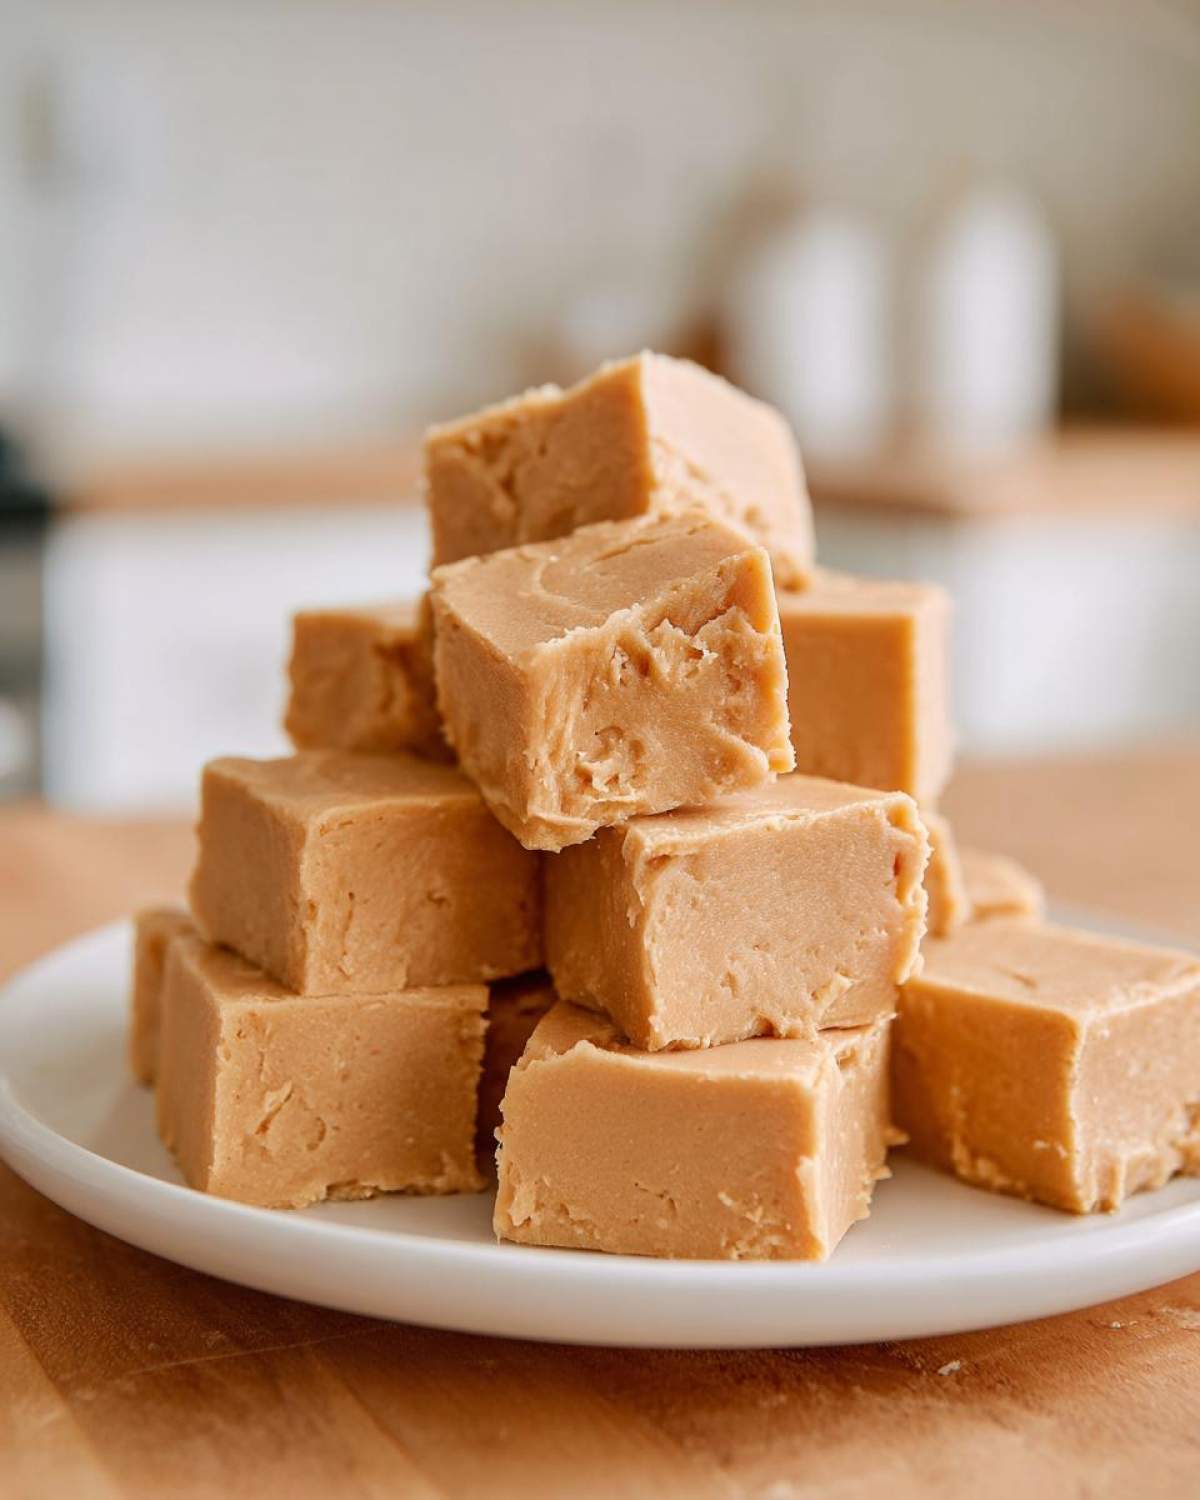
Now, I’m definitely not a nutritionist—I’m just here for the gooey, sweet goodness! But I know a lot of you like to keep track, so I pulled the estimated data based on the standard ingredients using Option A for estimation. Remember, since this is a super simple, rich recipe, these numbers reflect pure deliciousness! If you’re counting macros, just keep in mind these are exactly that: estimates based on what a typical serving size for this peanut butter fudge usually looks like.
- Serving Size: 1 square
- Calories: 185 per square
- Fat: 14g (with 5g saturated fat)
- Carbohydrates: 16g
- Sugar: 18g (Yes, it’s a treat!)
- Protein: 4g
The important thing to remember is that this is homemade candy, and we didn’t use any weird fillers, so you know exactly what you’re getting: butter, sugar, and peanut butter! No mysteries here, unlike some of those store-bought bars, I promise!
Share Your Experience Making This Peanut Butter Fudge
Seriously, I’ve talked your ear off about just how perfect this peanut butter fudge is, but the real joy comes from seeing what you all create! I’m dying to know if you loved how quickly this came together or if you went rogue and added coconut flakes or chocolate chips! My favorite part of running this little corner of the internet is hearing about your kitchen victories.
When you try this recipe, please let me know how it turned out. Did you get that incredible, smooth texture? Pop down to the comments section below and give it a rating—five stars if it saved your holiday dessert stash, like it saved mine that one chaotic Christmas Eve! I look forward to reading about your successes and any fun twists you put on this recipe. You can also share your amazing results over on social media and tag me so I can see your perfect squares of quick, homemade deliciousness!
If you enjoyed how easy this was and are craving another classic that’s just as simple and guaranteed to be a crowd-pleaser, you have to check out my guide for the best soft and chewy chocolate chip cookies. They are another one of those recipes that never fails!
Print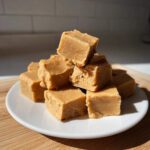
Easiest 3 Ingredient No-Bake Peanut Butter Fudge
- Total Time: 2 hr 10 min
- Yield: 16 servings
- Diet: Vegetarian
Description
Make smooth, creamy peanut butter fudge with only three simple ingredients. This no-bake recipe sets quickly and delivers a rich, melt-in-your-mouth texture perfect for quick treats.
Ingredients
- 1 cup creamy peanut butter
- 1 cup powdered sugar (confectioners’ sugar)
- 1/2 cup (1 stick) unsalted butter, softened
Instructions
- Line an 8×8 inch baking pan with parchment paper, leaving an overhang on two sides for easy removal. Lightly grease the paper.
- In a medium microwave-safe bowl, combine the peanut butter and softened butter. Microwave on medium power for 30 to 45 seconds until the butter is melted and the mixture is smooth. Stir well to combine.
- Gradually add the powdered sugar to the peanut butter mixture, stirring constantly until fully incorporated and a thick dough forms.
- Press the fudge mixture evenly into the prepared baking pan. Use a spatula or the back of a spoon to smooth the top surface.
- Refrigerate for at least 2 hours, or until firm enough to cut.
- Lift the fudge out of the pan using the parchment paper overhang. Cut into 1-inch squares before serving.
Notes
- Use creamy peanut butter for the smoothest texture. Natural, oily peanut butter may require slight adjustments to the powdered sugar amount.
- If the mixture seems too stiff before pressing into the pan, microwave it for another 10 seconds to soften slightly.
- Store leftovers in an airtight container in the refrigerator for up to one week.
- Prep Time: 10 min
- Cook Time: 0 min
- Category: Dessert
- Method: No-Bake
- Cuisine: American
Nutrition
- Serving Size: 1 square
- Calories: 185
- Sugar: 18
- Sodium: 75
- Fat: 14
- Saturated Fat: 5
- Unsaturated Fat: 9
- Trans Fat: 0
- Carbohydrates: 16
- Fiber: 1
- Protein: 4
- Cholesterol: 15